

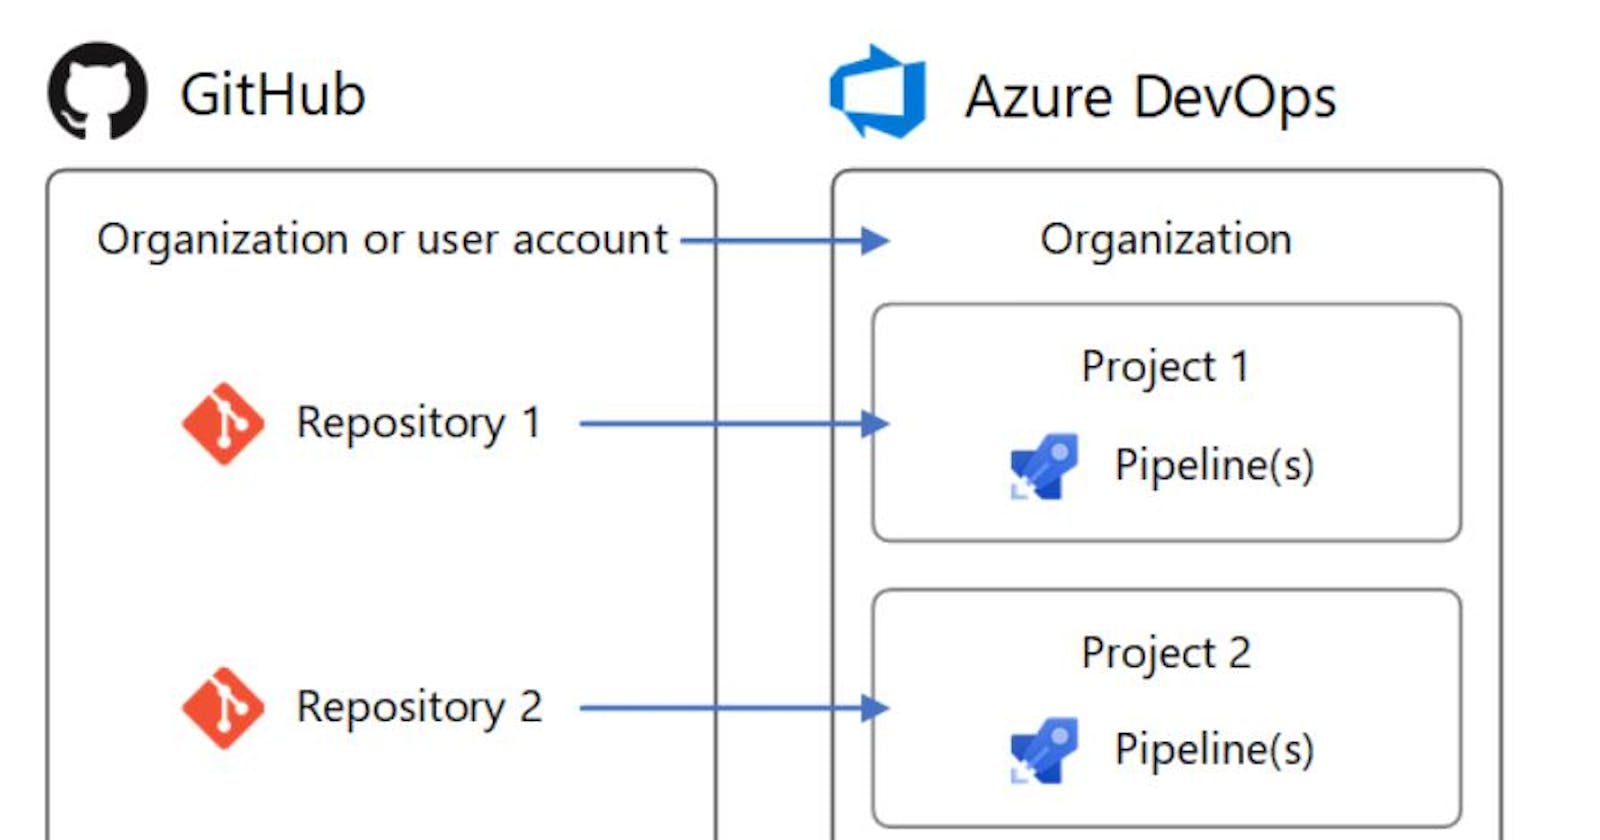


This article explains how you can pick up your git repository from GitHub using Azure pipelines and setup build.
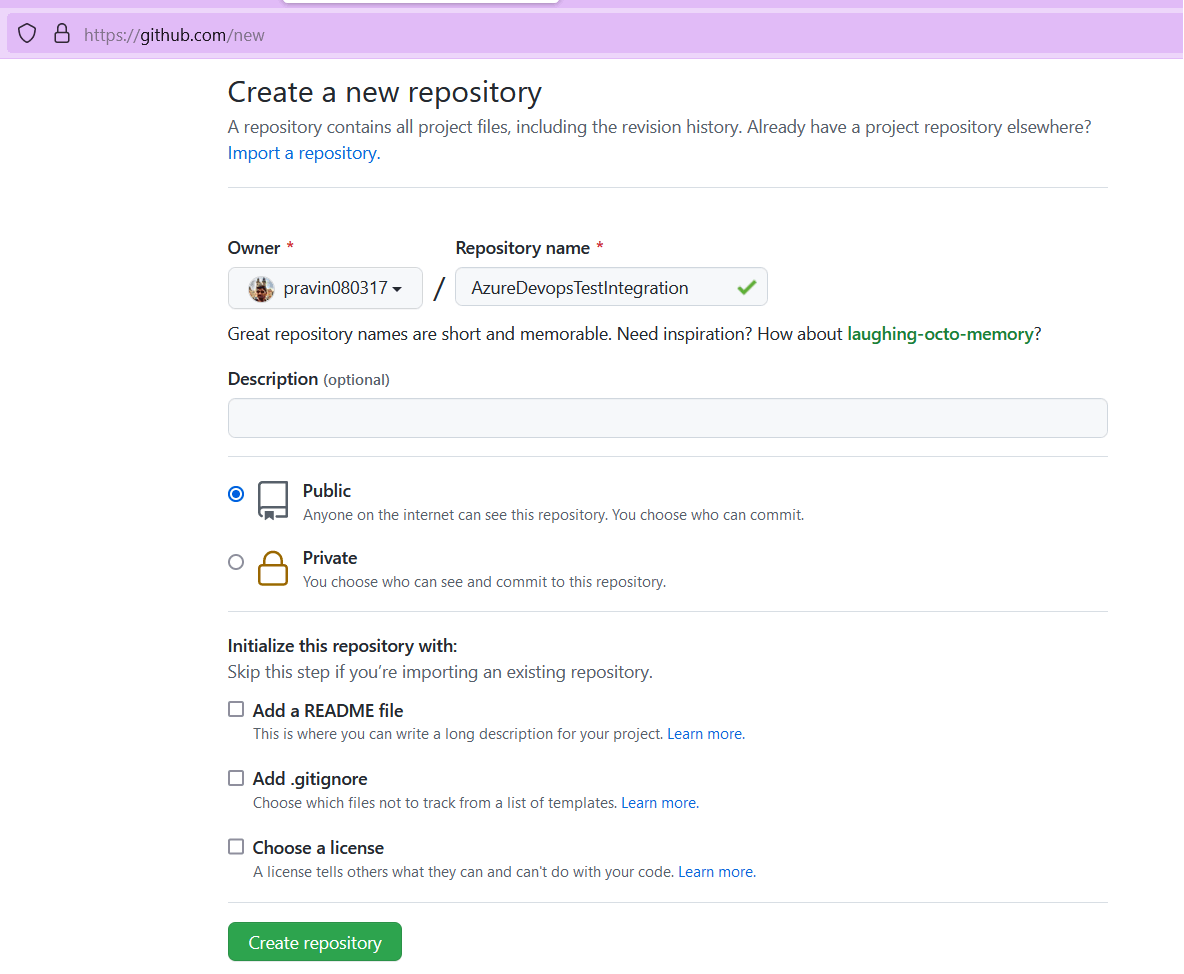
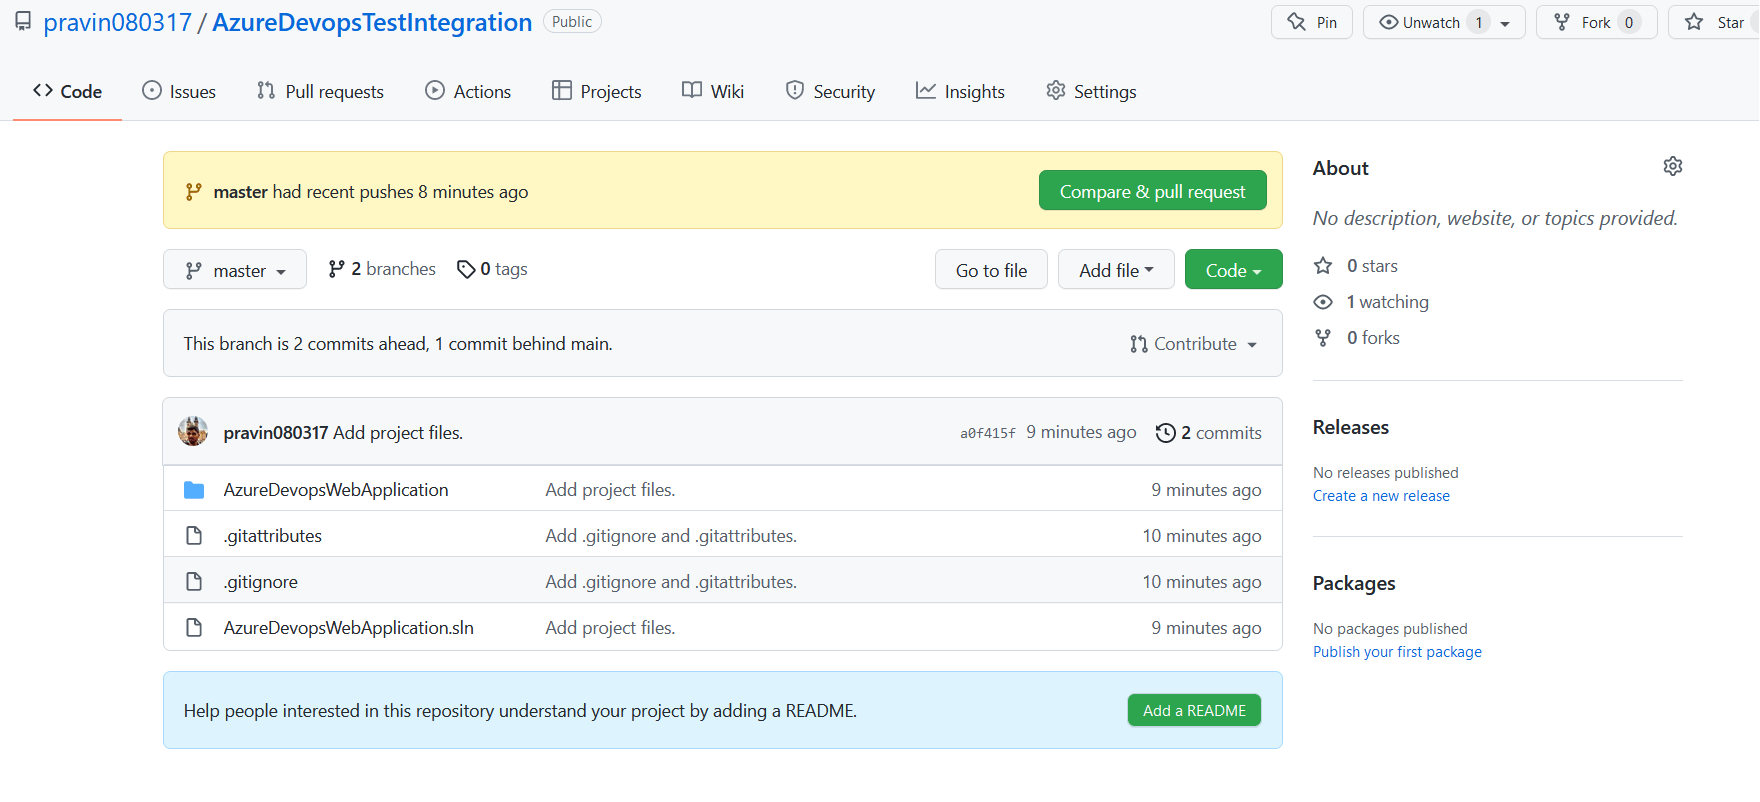
- Go ahead on to GitHub and create a very simple repository first. so I go out and create a new repository called "AzureDevopsTestIntegration".
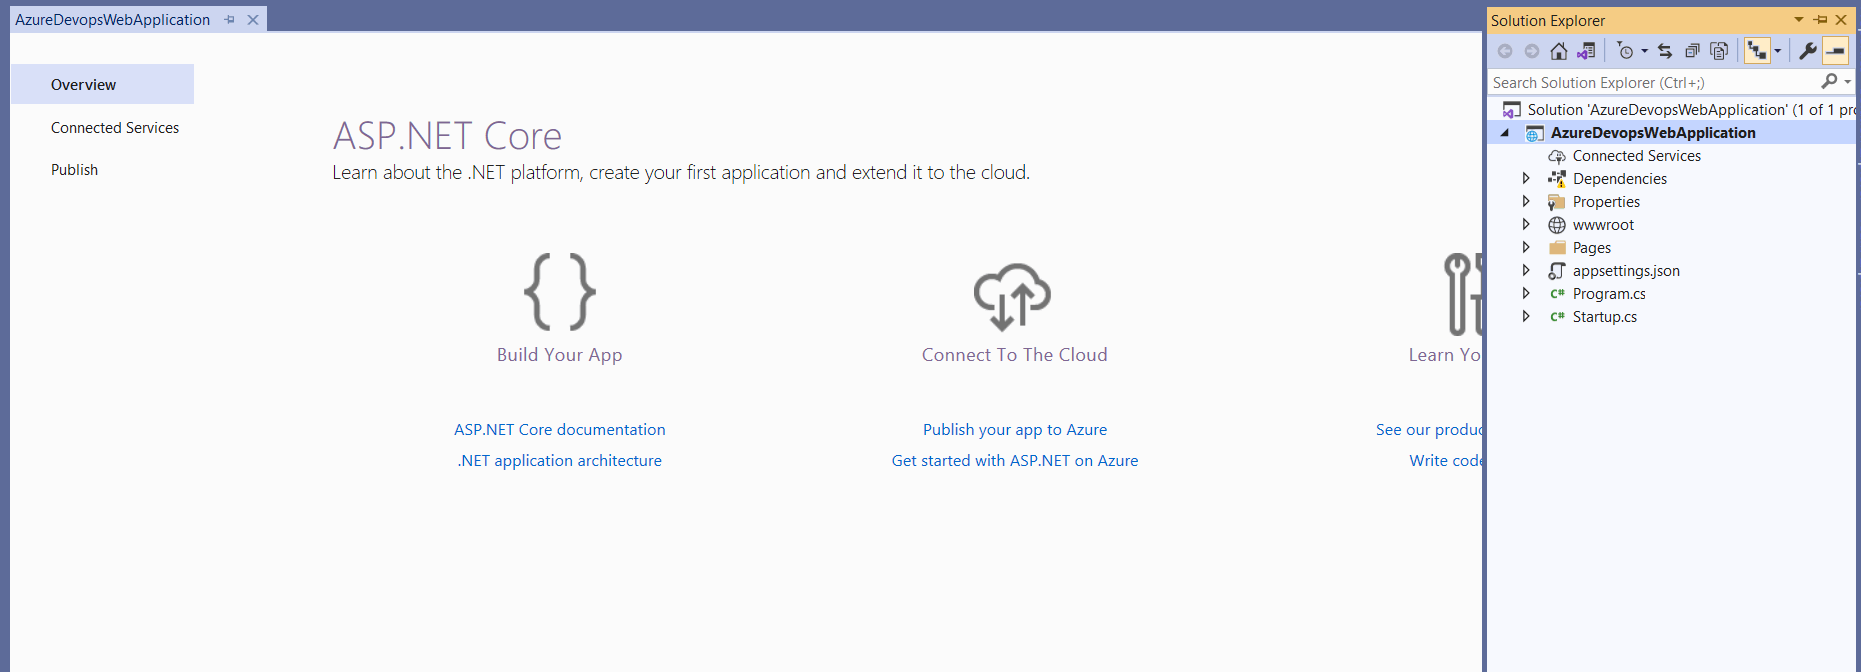
- On local machine in Visual Studio, go ahead and create a simple ASP.net Core based application. Once the solution is created, go ahead and add this project on to the above git hub. Push the ASP.net core application to GitHub using the below git commands or use GITHUB Desktop tool to push the local changes to GitHub project.
git remote add origin  <REMOTE_URL>
git push origin main
Reference documentation for pushing code to GitHub from local : https://docs.github.com/en/get-started/importing-your-projects-to-github/importing-source-code-to-github/adding-locally-hosted-code-to-github
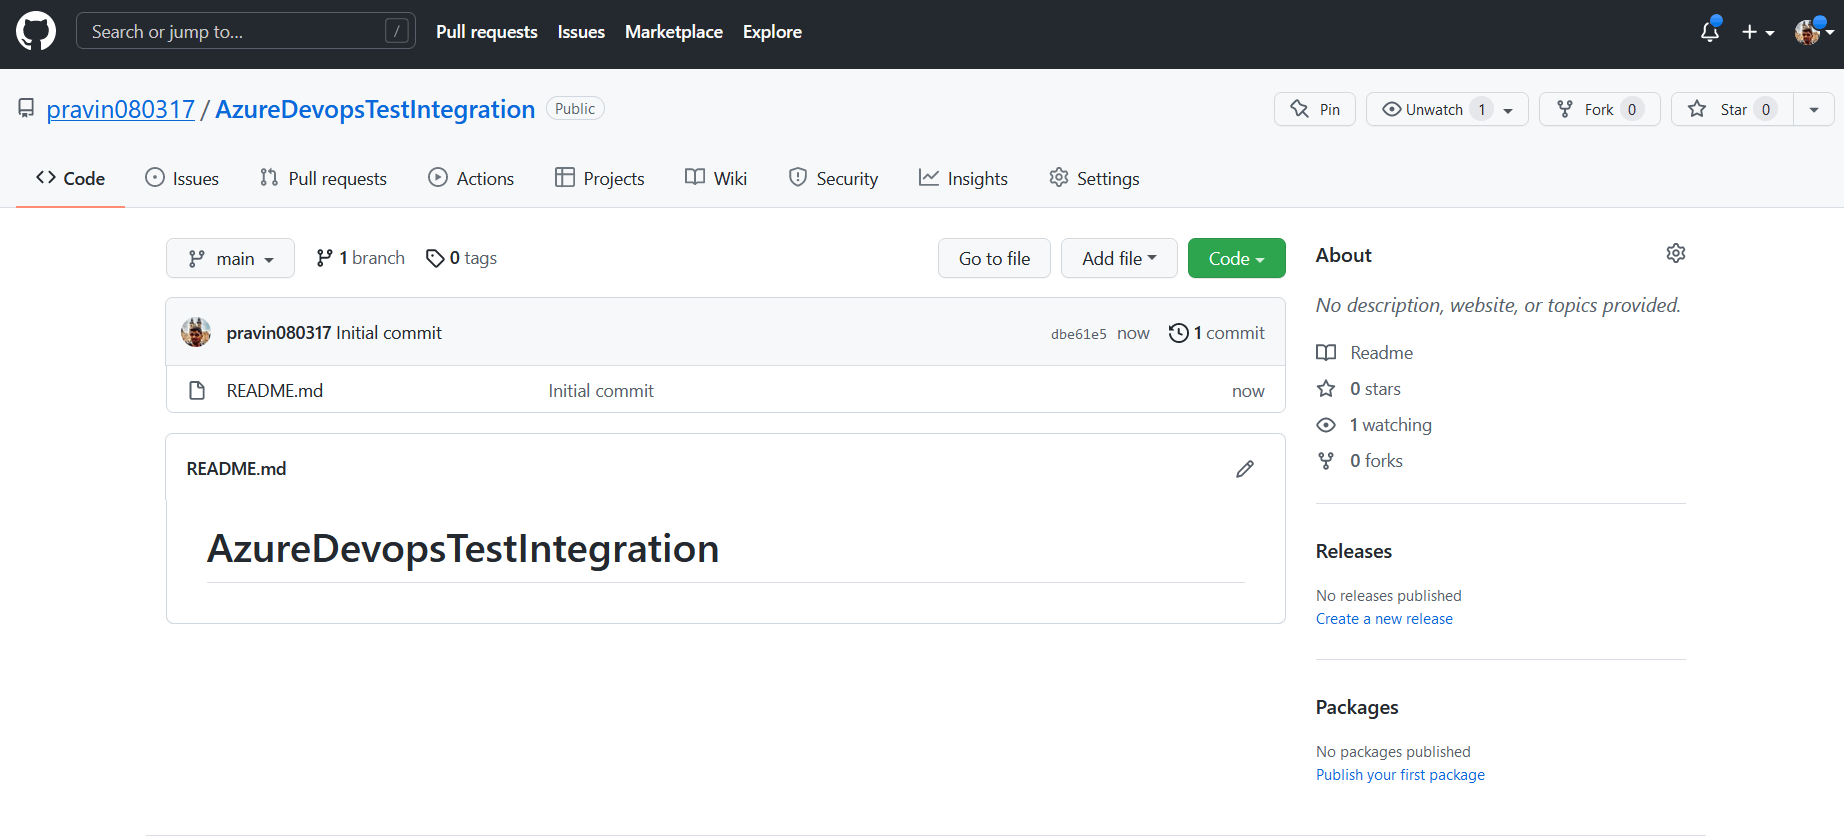
- Once the code is pushed from Local, we can see the project is added to the GitHub like below.
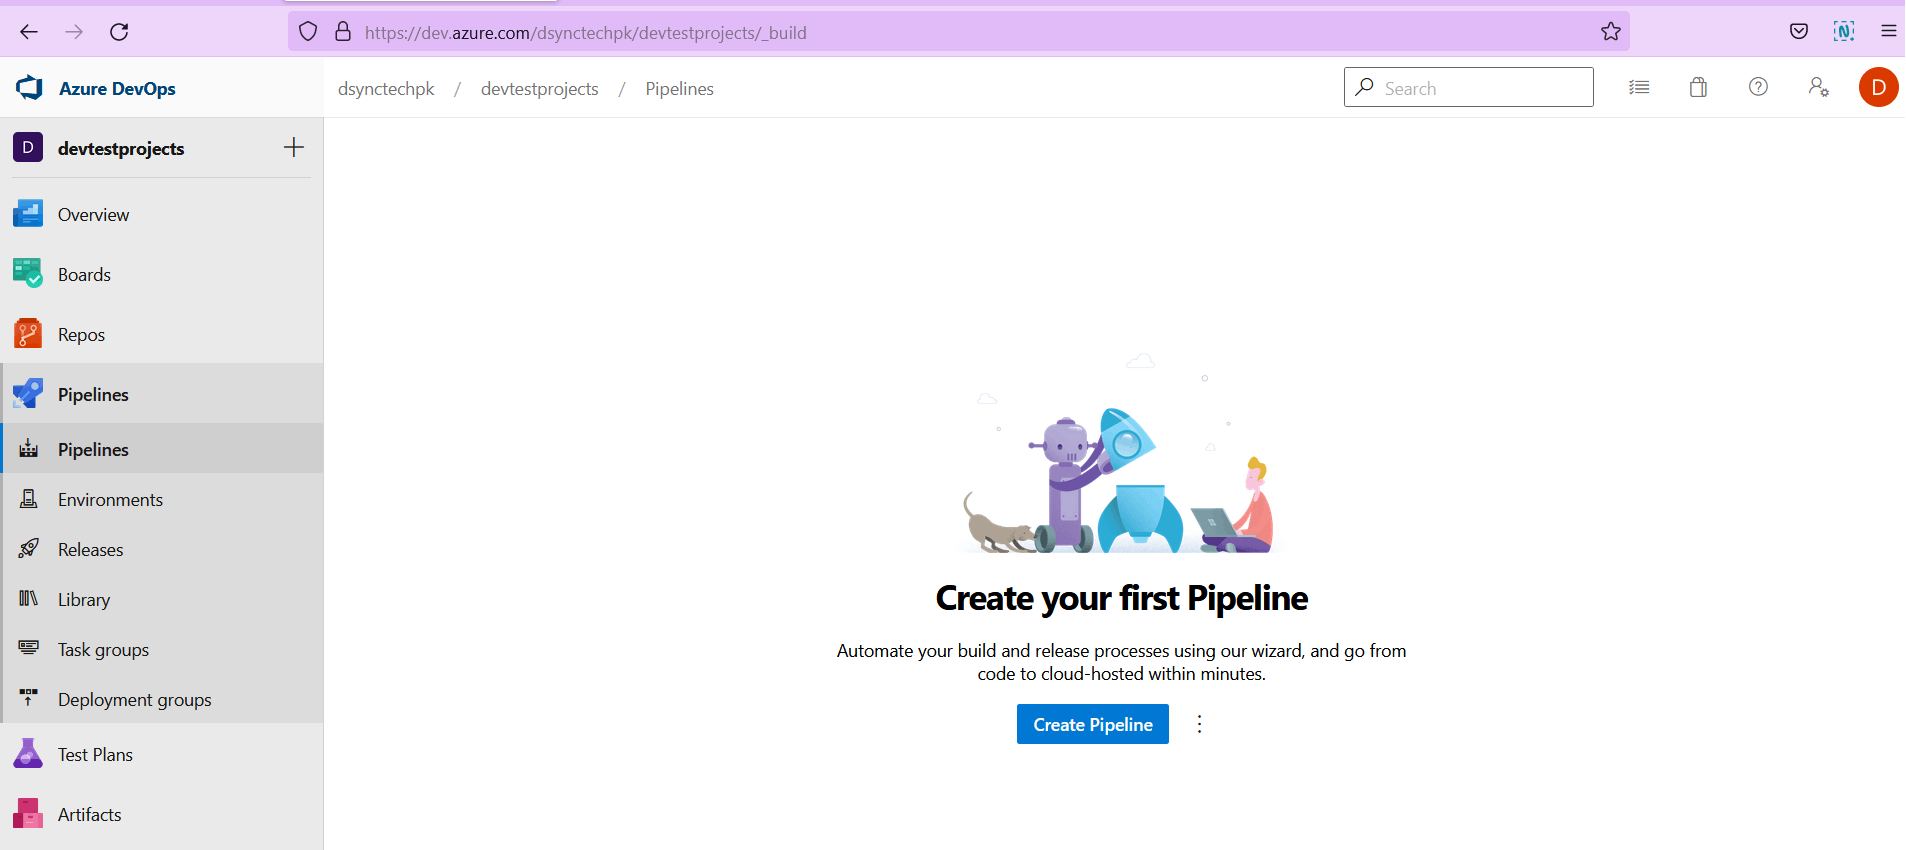
- Now Navigate to Azure Devops, create a new project if not already created. Go on to the project, Click on the pipelines, and let's go ahead and create a new pipeline. So everything remains the same, the only difference is that we can go out and pick up our code from GitHub not from Azure Repos.
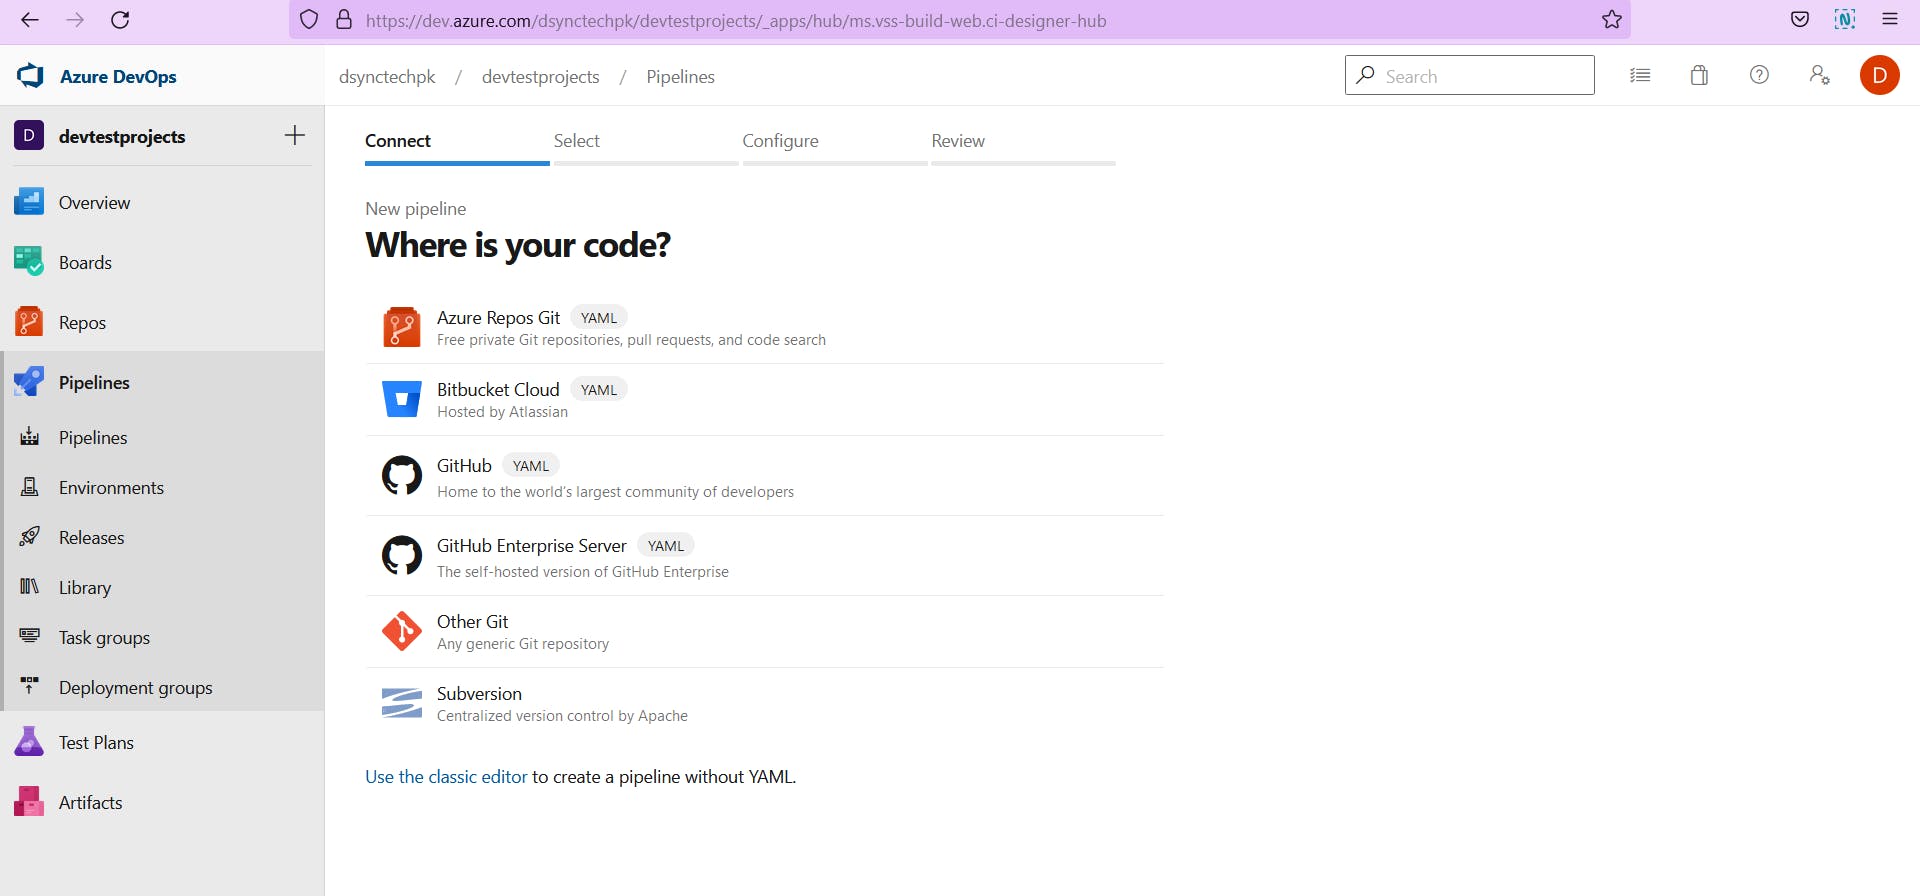
- Click on GitHub (YAML) Option.
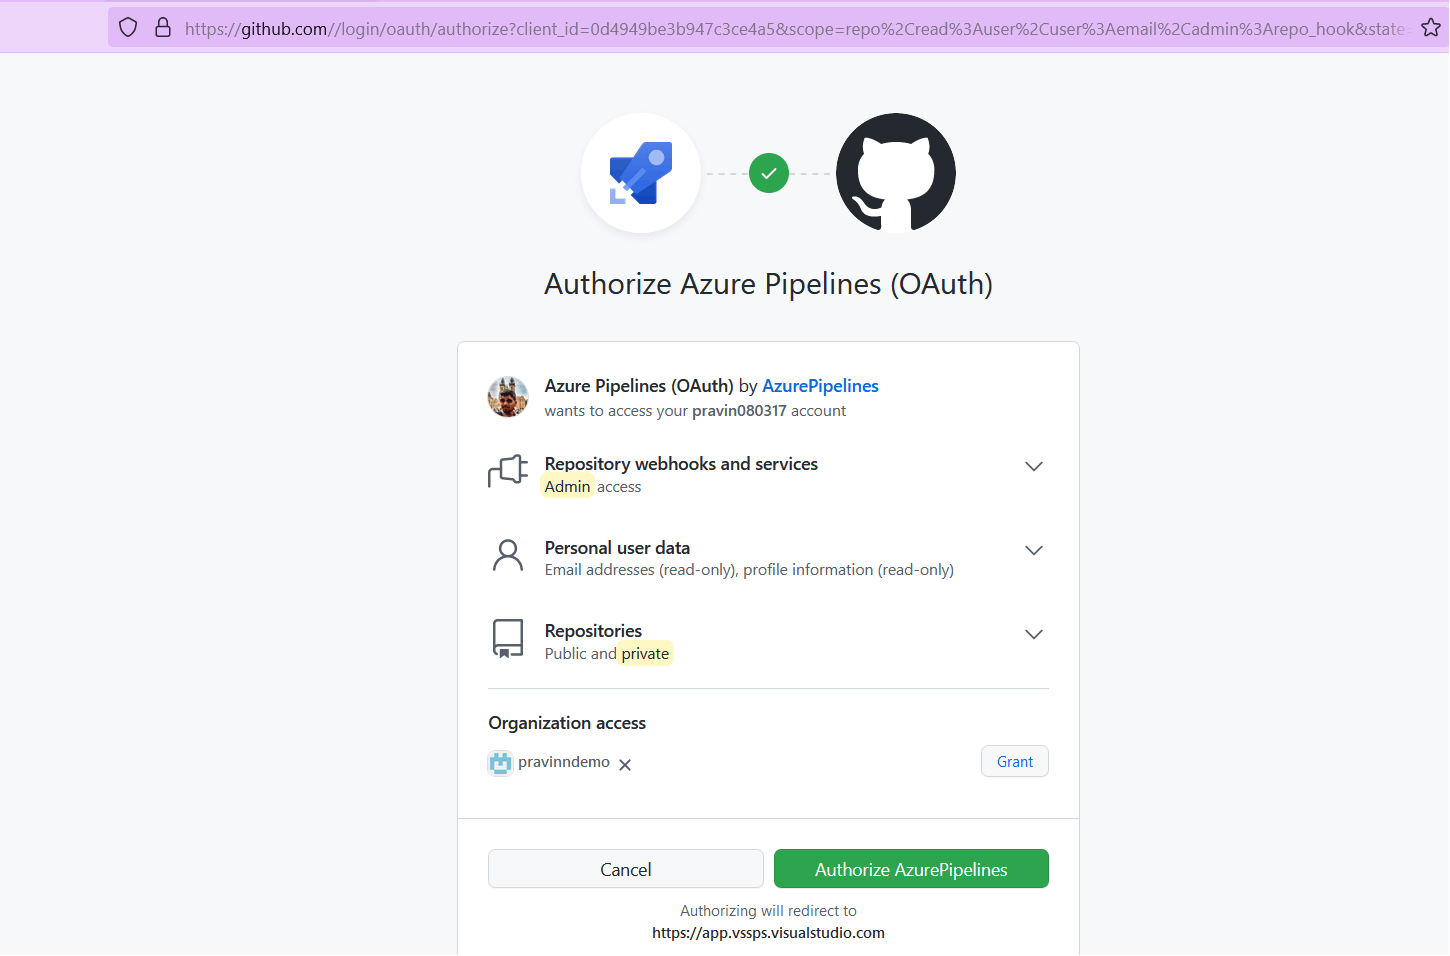
- It will redirect us to new page to get the azure pipelines authorized to work with GitHub. Go ahead and click on Authorize Azure pipelines. So over here, we are saying that Authorize Azure pipelines to read the repository in GitHub.
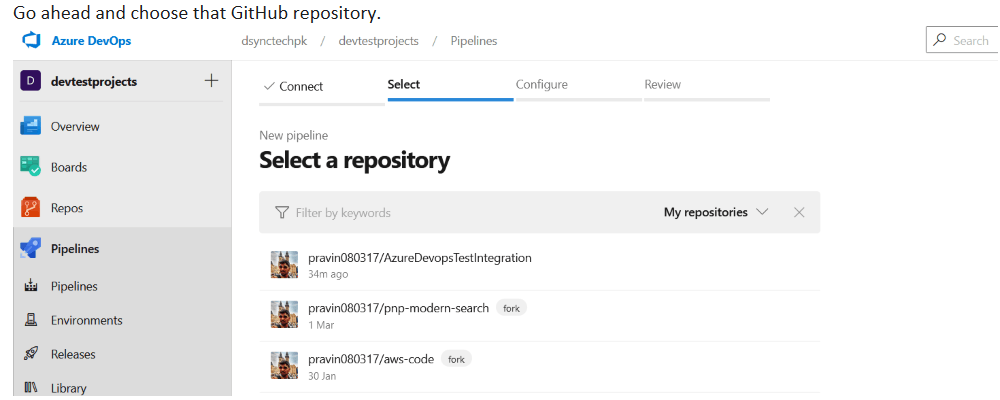
- Go ahead and choose that GitHub repository.
- So it will, again, ask us to approve and install the Azure pipelines in Git Hub, so please go ahead and approve and install that particular application. This will be done in GitHub.

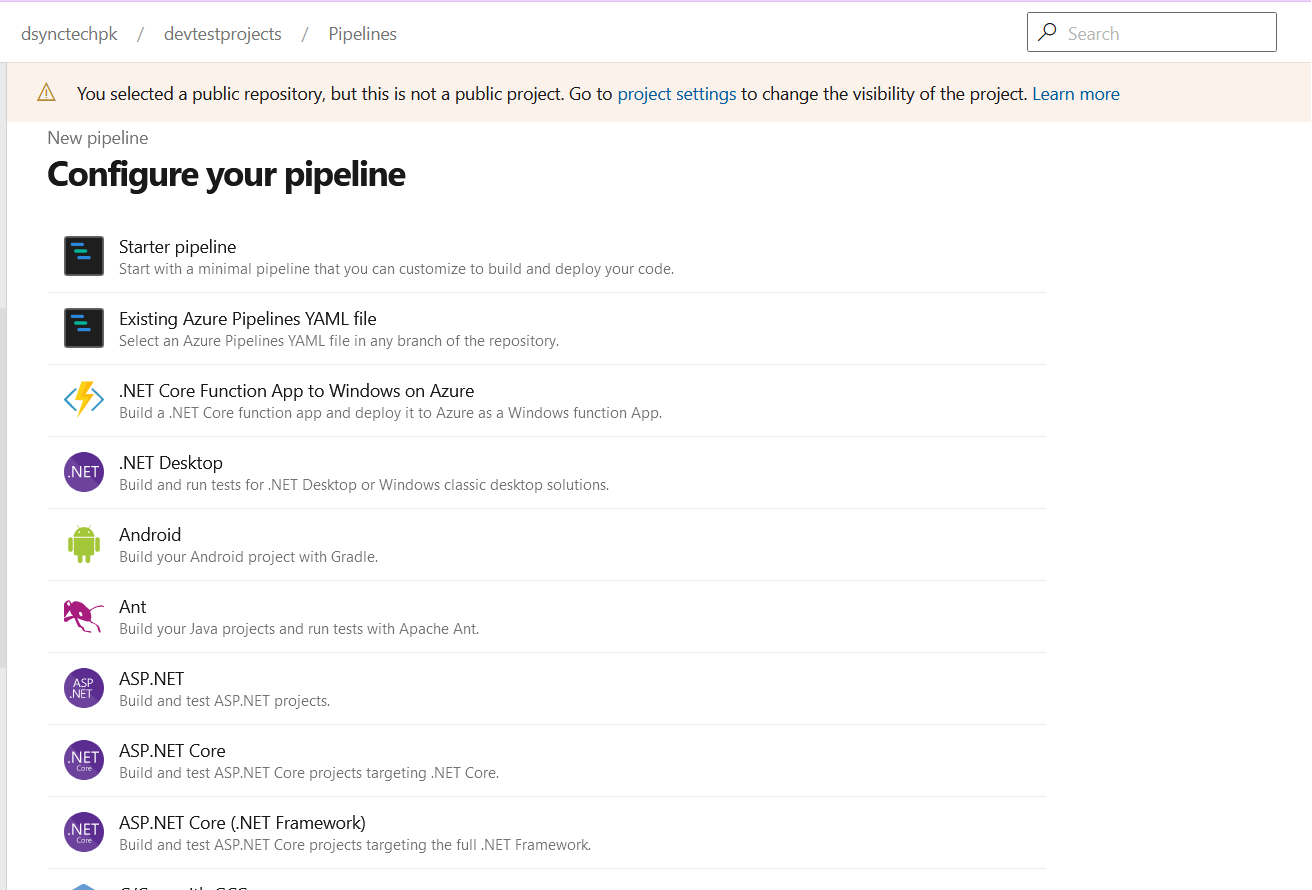
- Go ahead and configure the pipeline using the YAML template, choose ASP.NET Core (.NET Framework)
- YAML file will be auto generated for us. Review the file and click on Save and run.
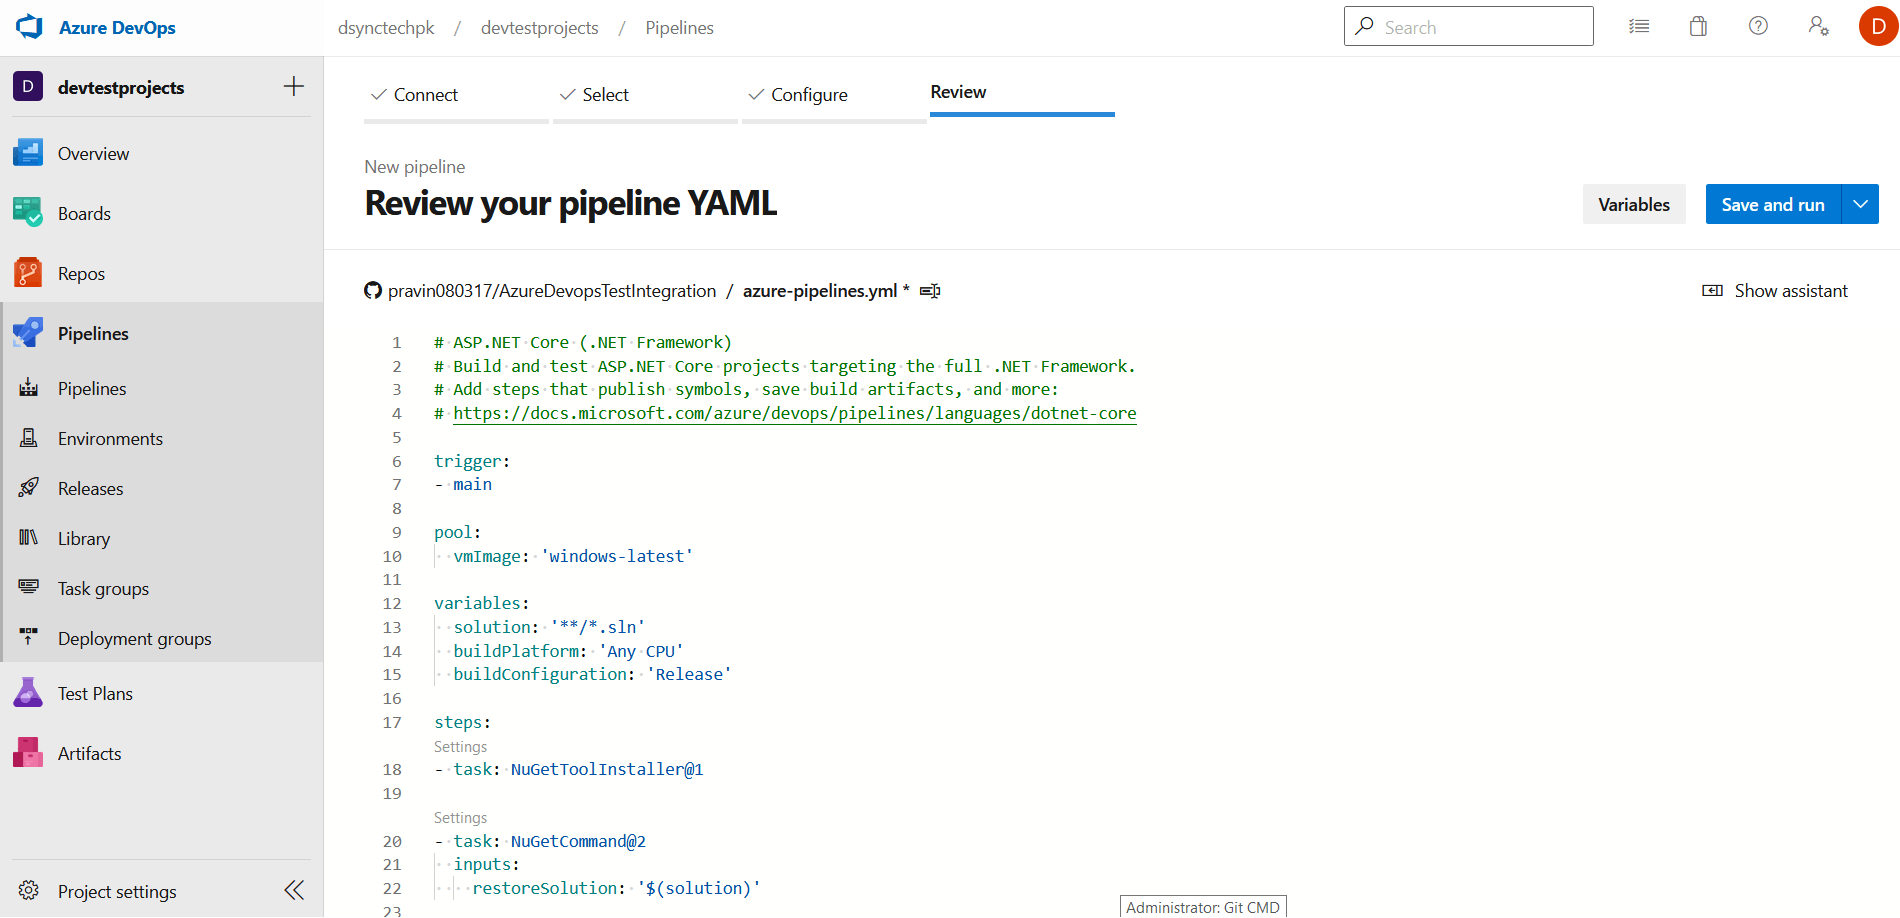
YAML file for reference:
# ASP.NET Core (.NET Framework)
# Build and test ASP.NET Core projects targeting the full .NET Framework.
# Add steps that publish symbols, save build artifacts, and more:
# https://docs.microsoft.com/azure/devops/pipelines/languages/dotnet-core
trigger:
- main
pool:
  vmImage: 'windows-latest'
variables:
  solution: '**/*.sln'
  buildPlatform: 'Any CPU'
  buildConfiguration: 'Release'
steps:
- task: NuGetToolInstaller@1
- task: NuGetCommand@2
  inputs:
    restoreSolution: '$(solution)'
- task: VSBuild@1
  inputs:
    solution: '$(solution)'
    msbuildArgs: '/p:DeployOnBuild=true /p:WebPublishMethod=Package /p:PackageAsSingleFile=true /p:SkipInvalidConfigurations=true /p:DesktopBuildPackageLocation="$(build.artifactStagingDirectory)\WebApp.zip" /p:DeployIisAppPath="Default Web Site"'
    platform: '$(buildPlatform)'
    configuration: '$(buildConfiguration)'
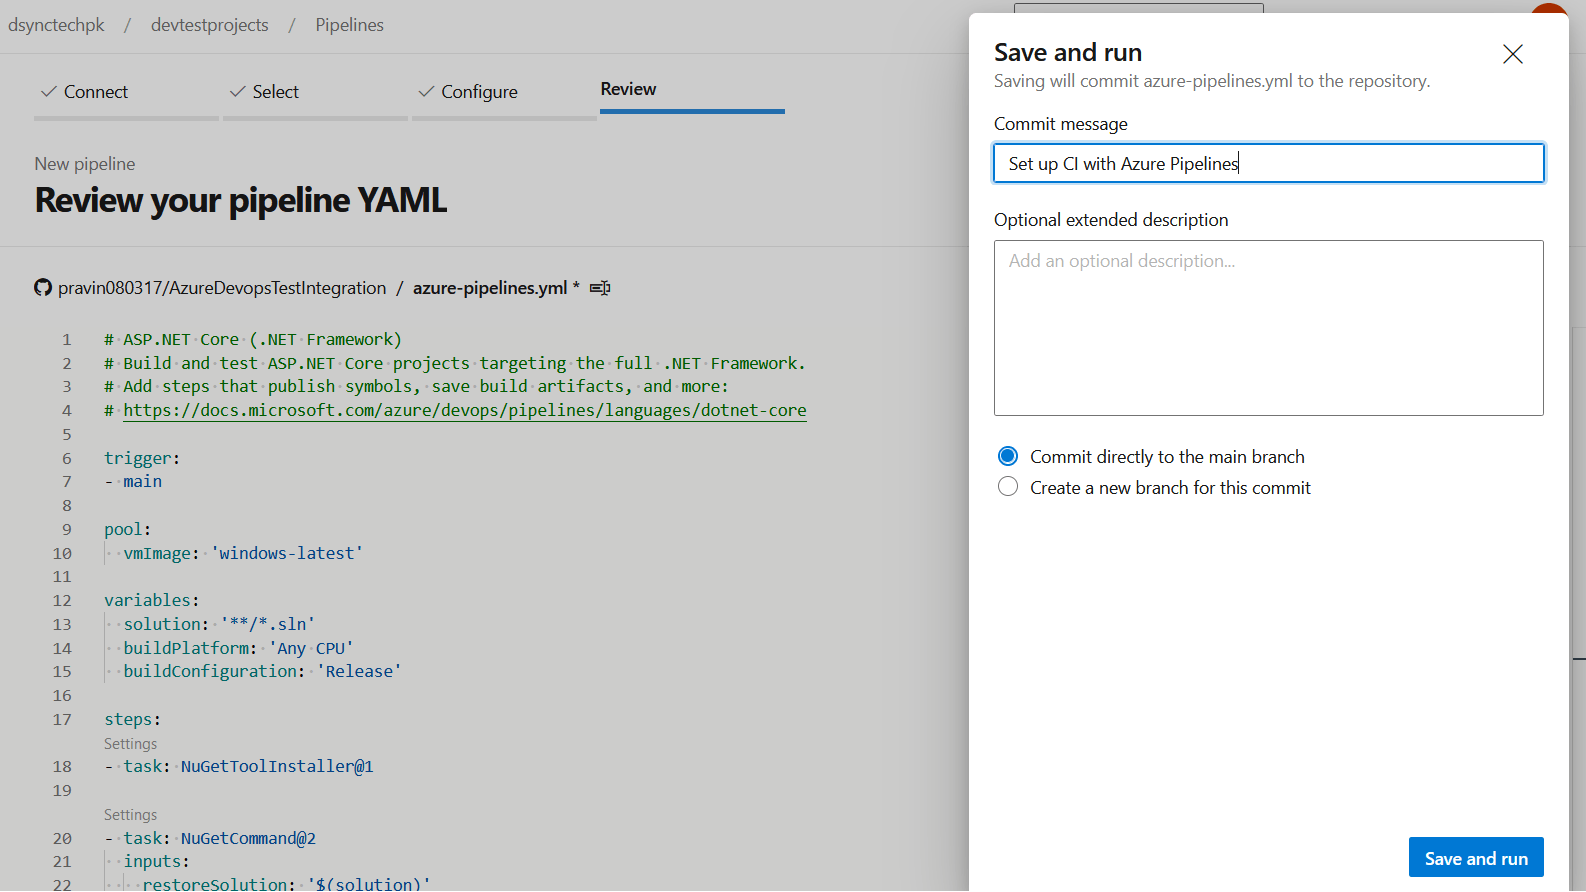
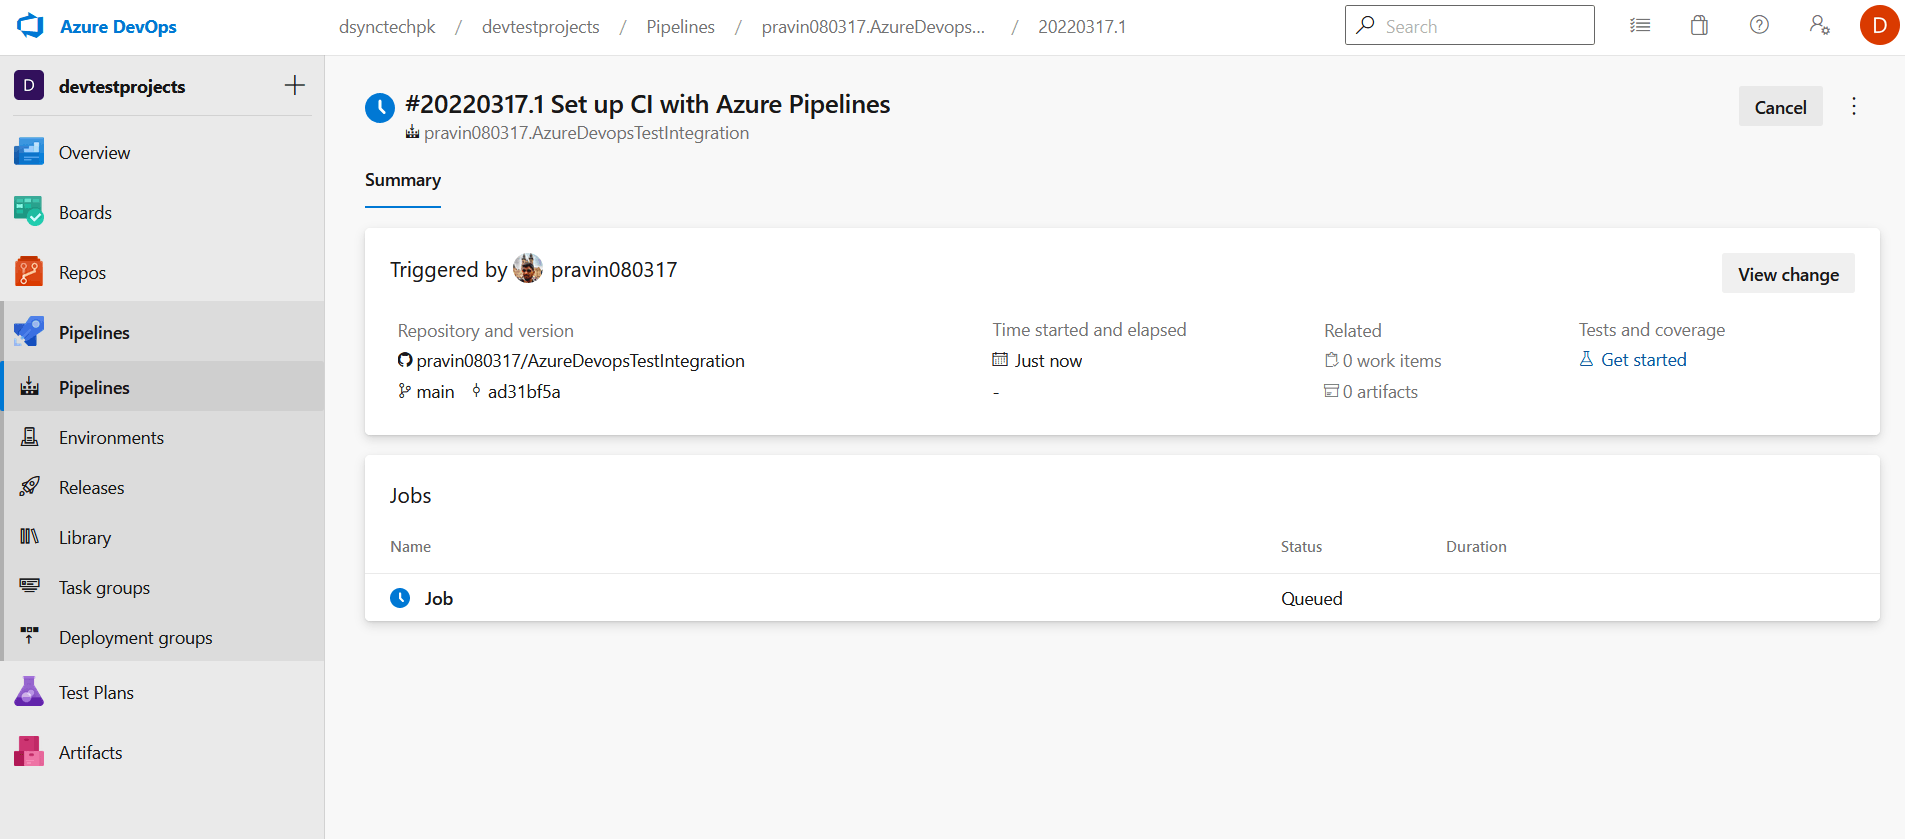
- Go ahead and click on Save and Run. So now it's going out and creating the pipeline and remember over here, it's now going to go ahead, and pick up the code from our GitHub repository.
- So if I go onto the job, it's currently queued. So now it'll go ahead and acquire the agent from the cloud and will go out and perform the steps for building the project.
Additional Info about Azure Pipeline and GitHub Authentication:
Azure Pipelines and GitHub Authentication
There are three ways of authenticating Azure Pipelines with GitHub repositories. This is also given in the Microsoft documentation

Reference - https://docs.microsoft.com/en-us/azure/devops/pipelines/repos/github?view=azure-devops&tabs=yaml