

Use ARM template to automate the creation of Azure App service during Release Pipeline


In this article we will see how to use ARM template in azure pipe lines to automate the creation of azure app service and deploy the code to it.
High Level Flow:
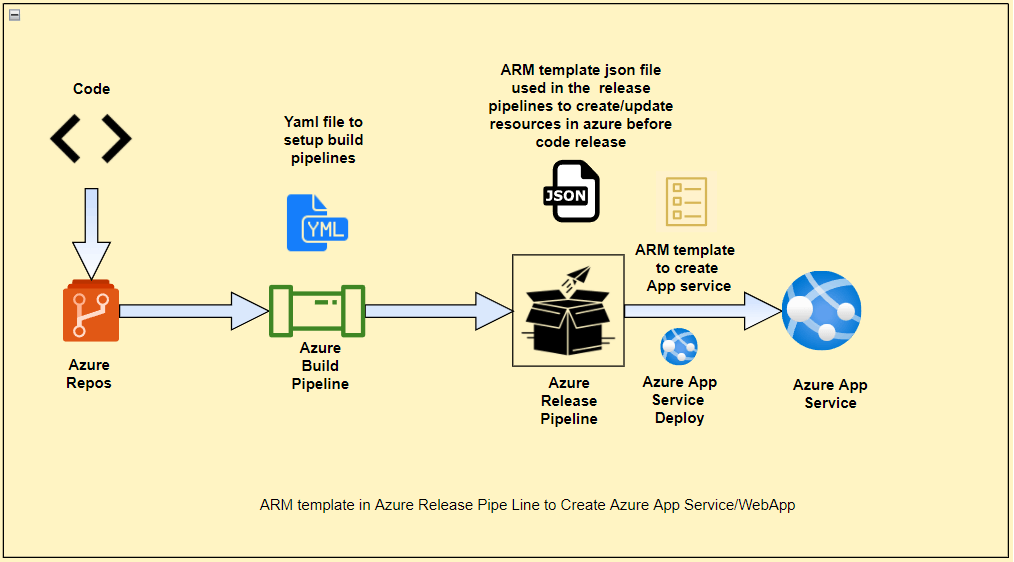
- First the code is be pushed into the Azure repos.
- Then we had setup the build for automating the build process.
- Then we had setup the release for automating the creation of azure app service resources and deploy the latest build to app service using ARM template.
Azure resource automation using ARM template and parameter file:
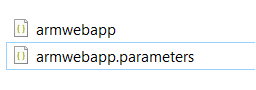
We will use the ARM template json file and parameter json file for automating the creation of the azure app service via azure release pipeline. ( two files are attached for reference) Please get the ARM template and parameter file from this link [Github]
(github.com/pravin080317/ARMTemplates/tree/m..)
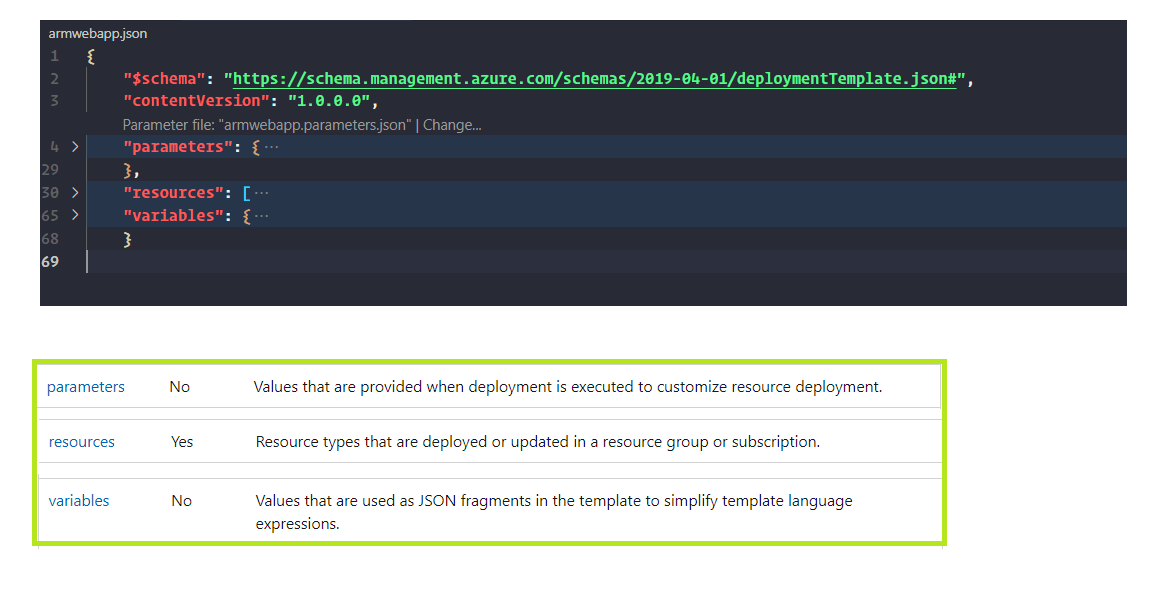
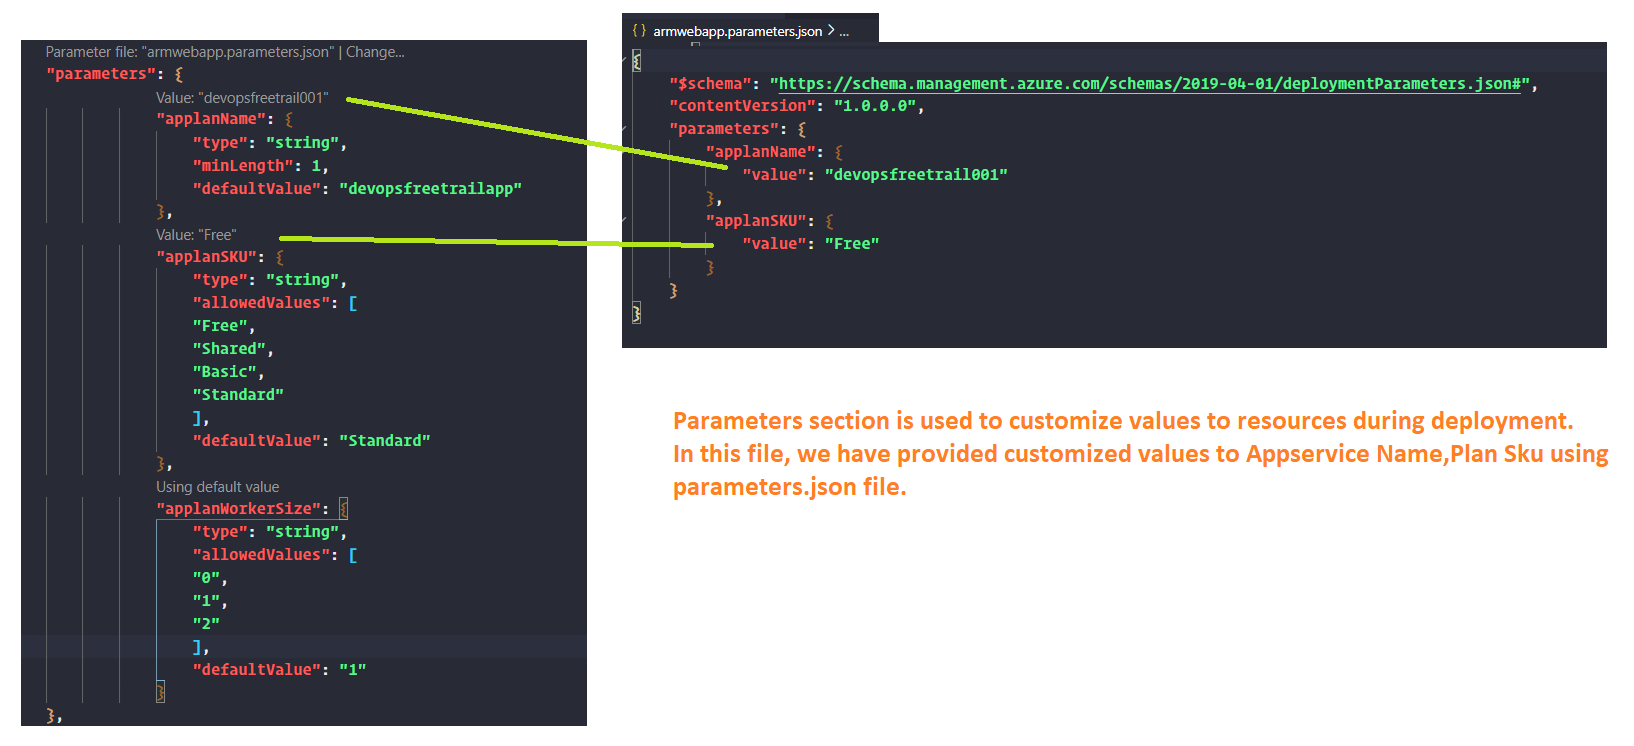
In the main template file (armwebapp.json), we will define the parameters, resources and variables to create azure app service.
In the main template file, we have three major sections,
1. Parameters :  If you want to make your ARM template should be more dynamic in nature during the deployment, you can go ahead and use parameters. We can specify the dynamic values in parameters.json to which will be used in the main template json file.
2. Resources : These are the resources that can be deployed as part of your template. Like in this demo, we will specify the details of azure app service like name, properties, plan etc.
3. Variables : These are the values that can be reused in the template.
Parameter section:
 Resource Section:

Variable Section:

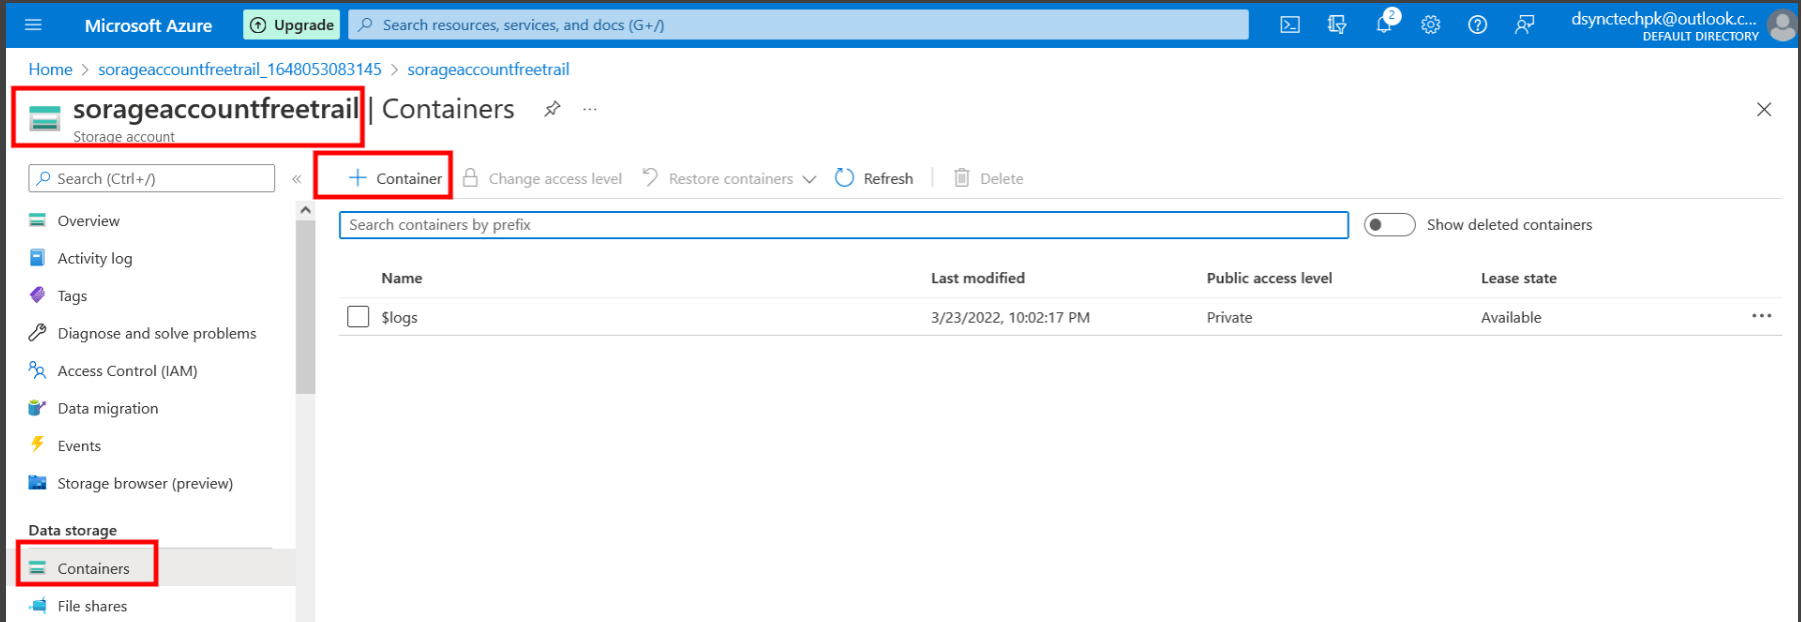
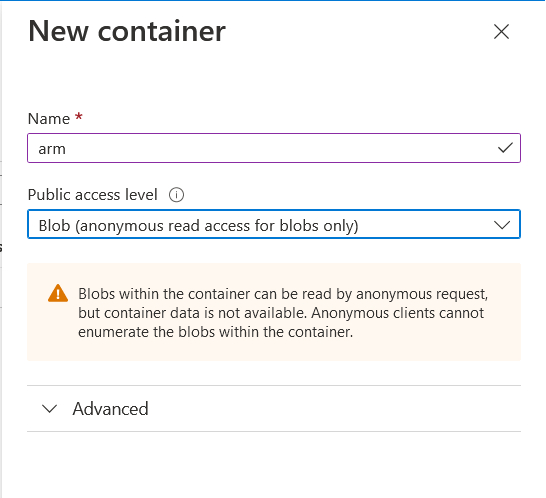
Upload ARM template file in Azure storage account:
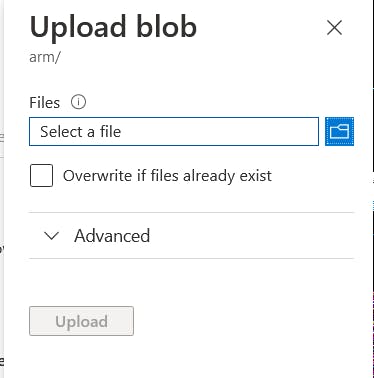
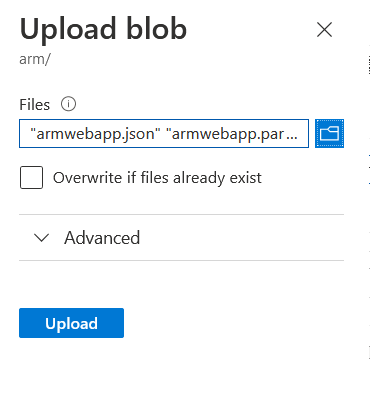
Go to azure portal, create/use existing storage account. Go to storage account and create a container. Once the container is created upload the two ARM json files to the container. (Please refer the below screenshots for steps)
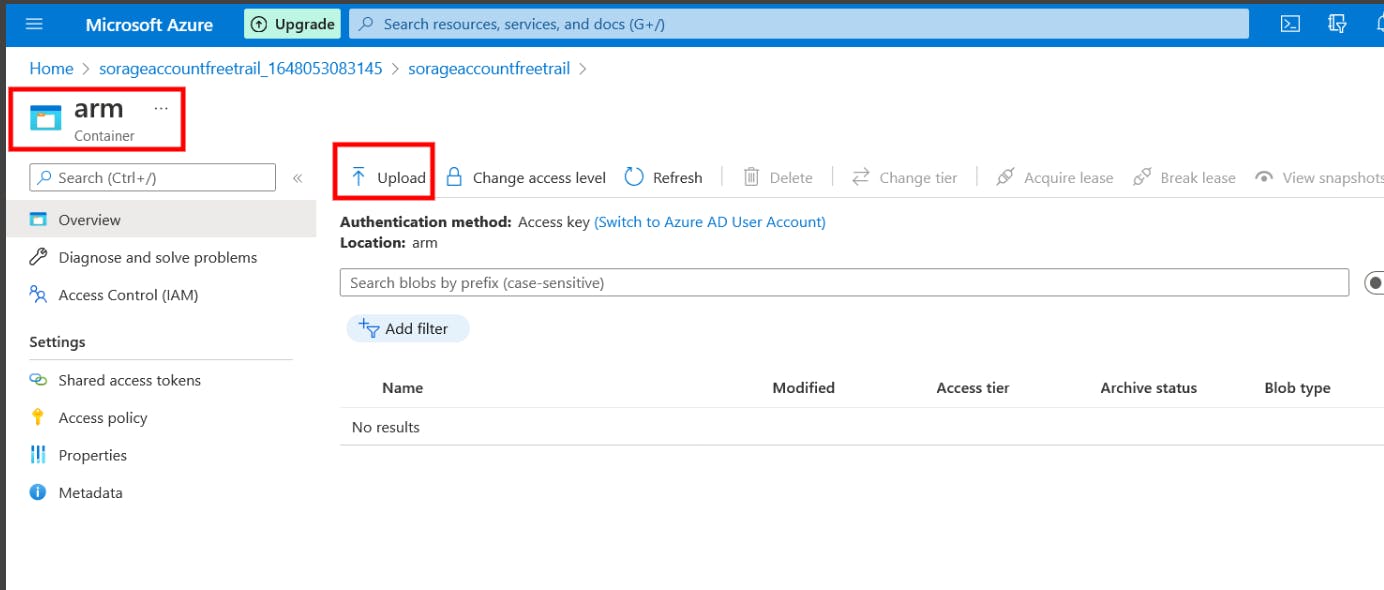
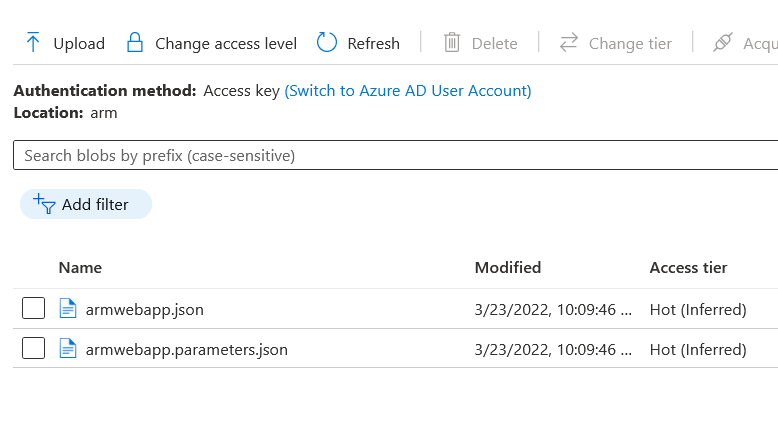
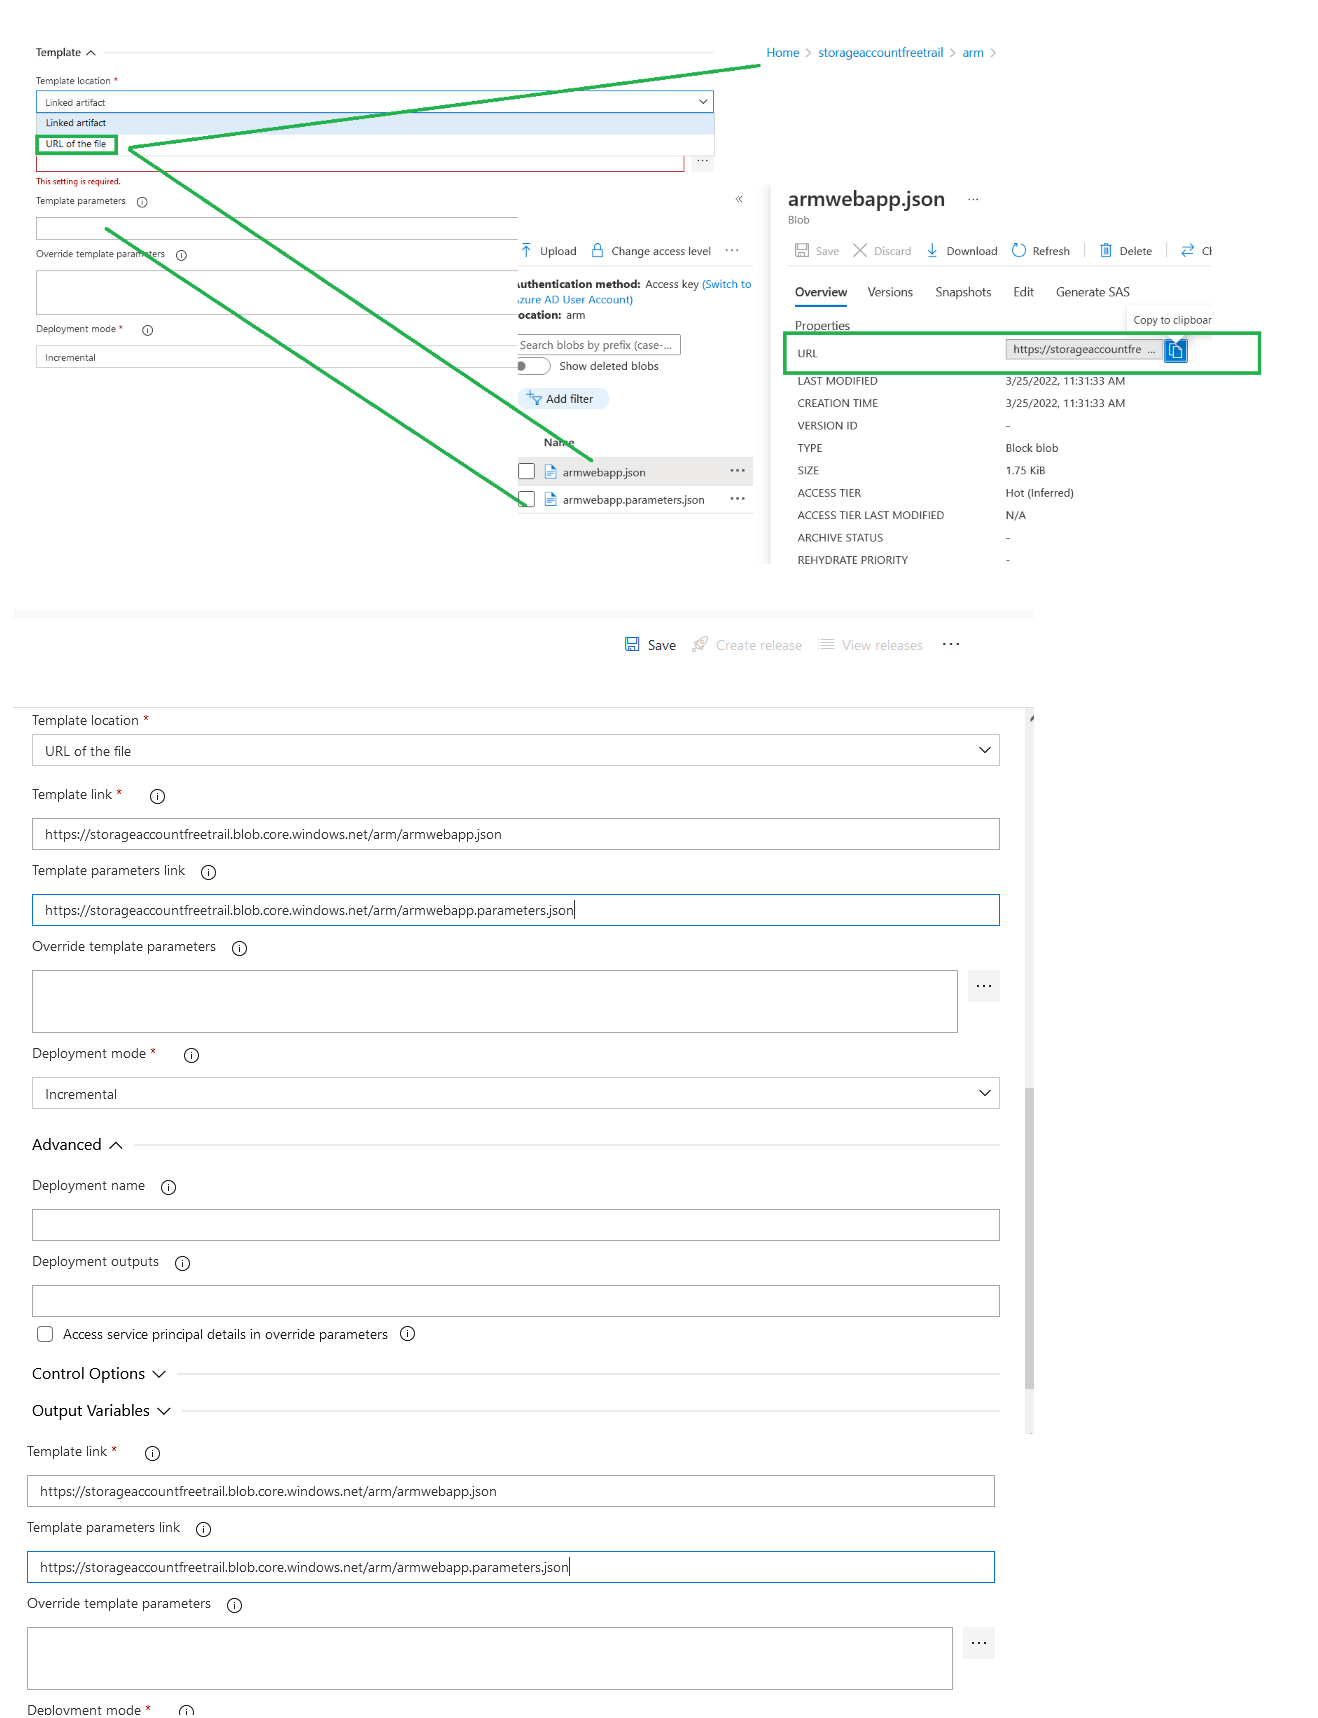
Once the files are uploaded, click on each file and copy the url (URL will be used in the Release pipeline for configuring ARM template)

Setup Build Pipeline:
Go to Azure Devops, choose the project, click on Pipelines and select Azure Repos Git YAML option.

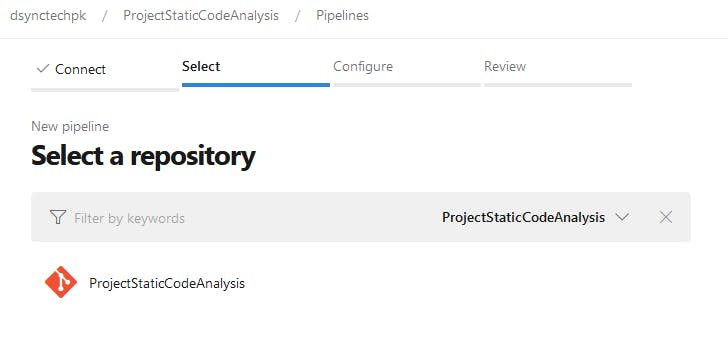
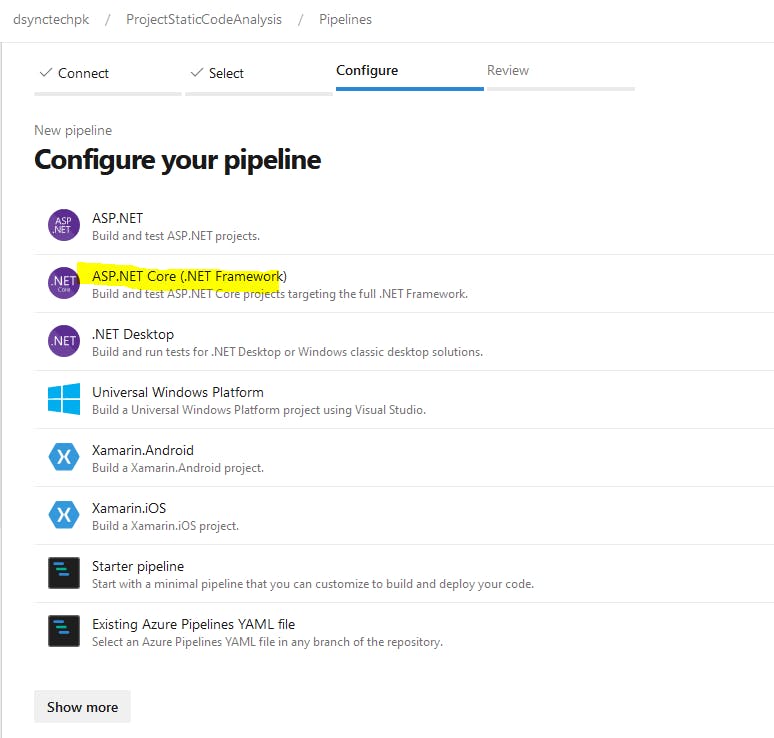
Select the project repository and proceed to configure section:
In the configure section, select ASP.NET Core (.NET Framework) option.
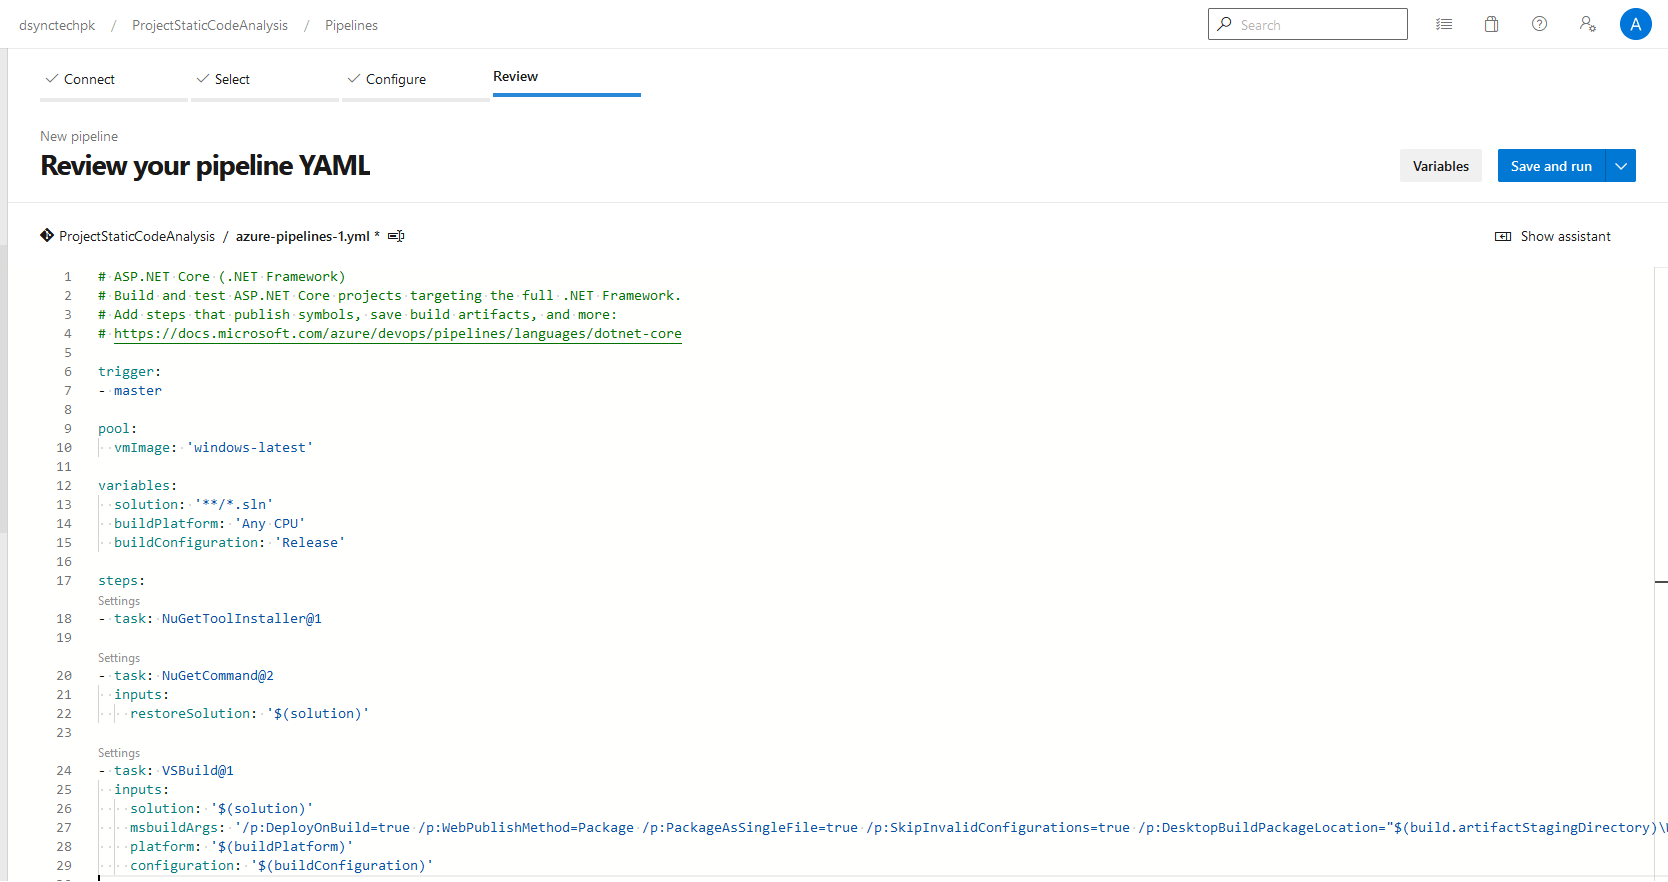
Review the YAML file and add or remove any tasks if needed. Save and run the build. Now the build is set.
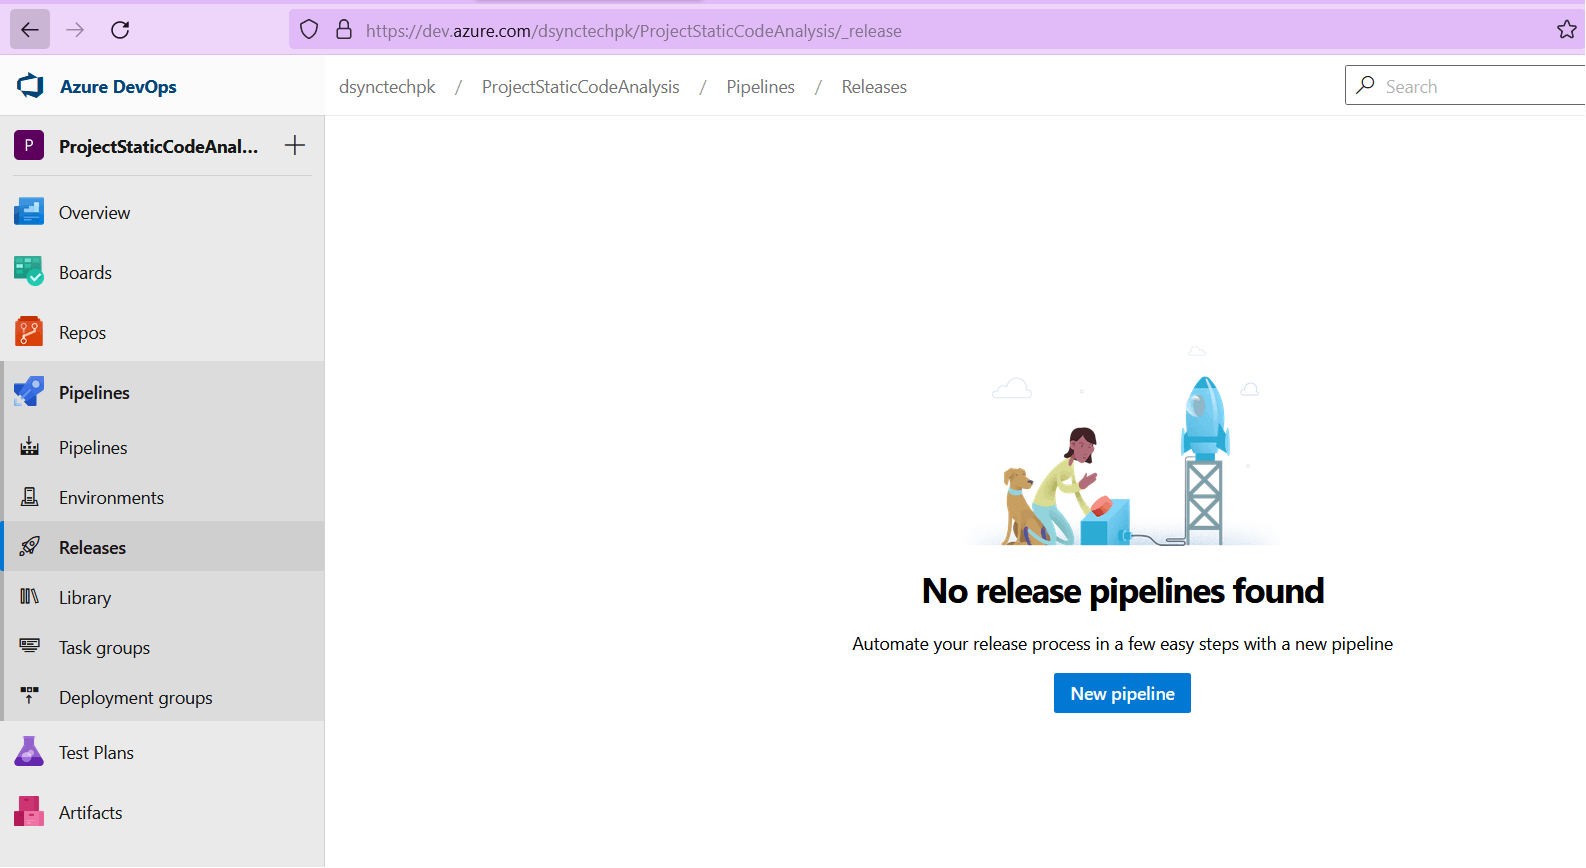
Setup/Configure Release pipeline:
Click on releases and click new pipeline
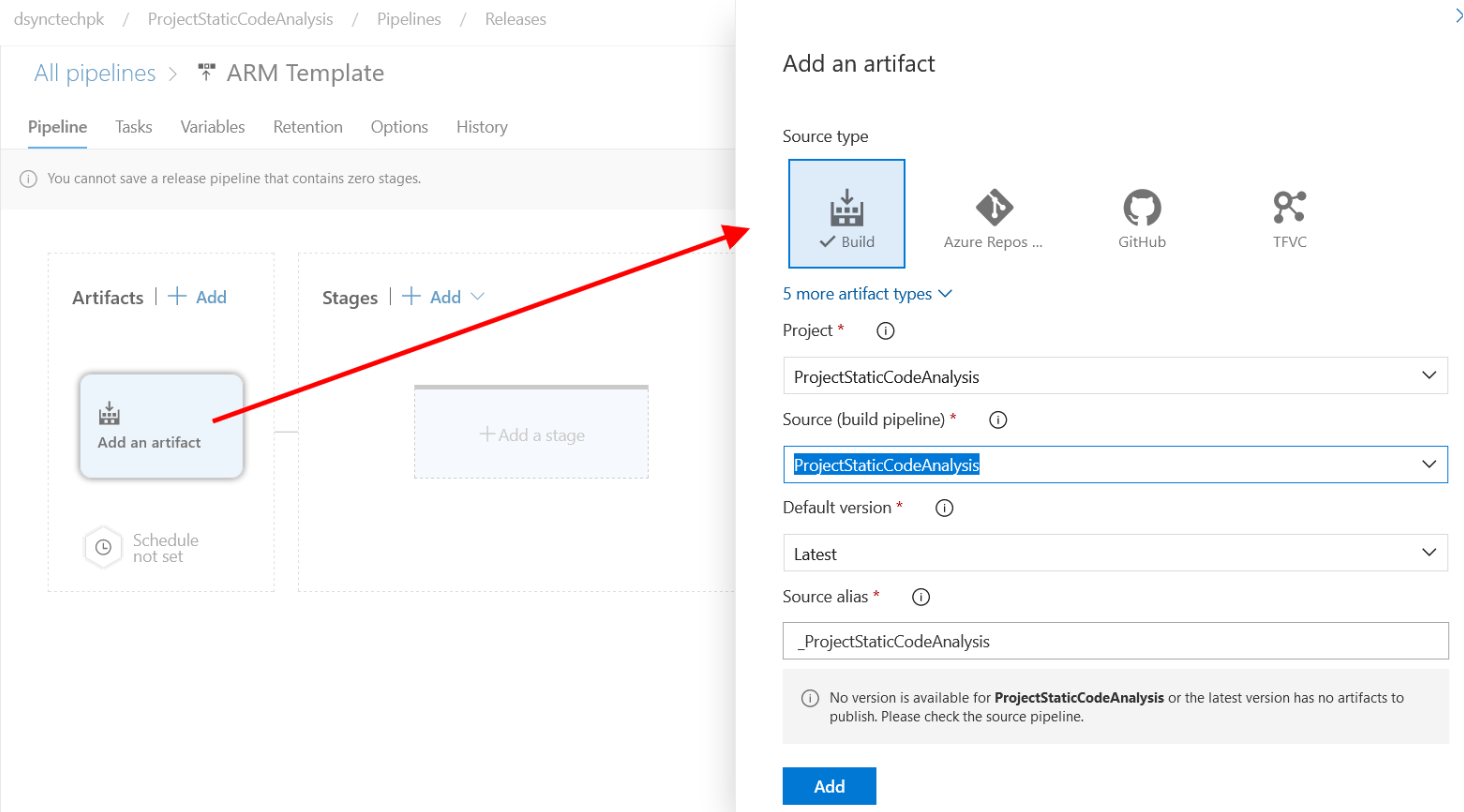
In the new pipeline page, click on Add an artifact, choose the source type as Build, and choose the project and build pipeline (the build pipeline which we created in the above step). Click on Add.
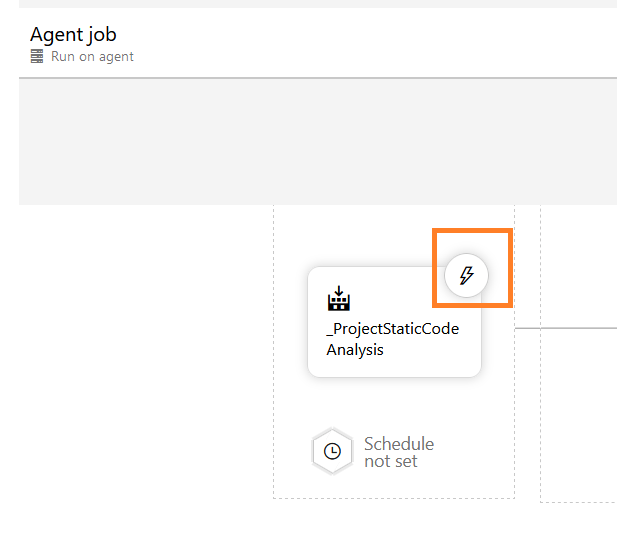
Once the build artifact is added, click on the below icon to enable continuous release after the latest build.
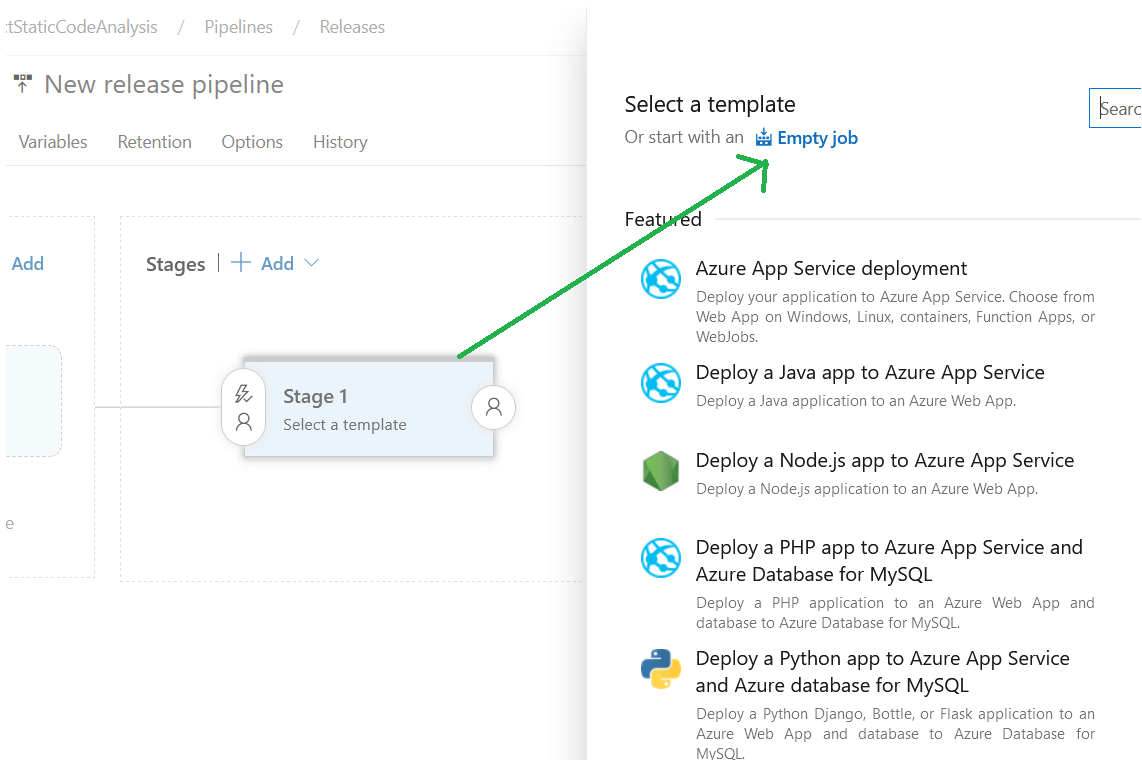
Click on Add a stage and select Empty job
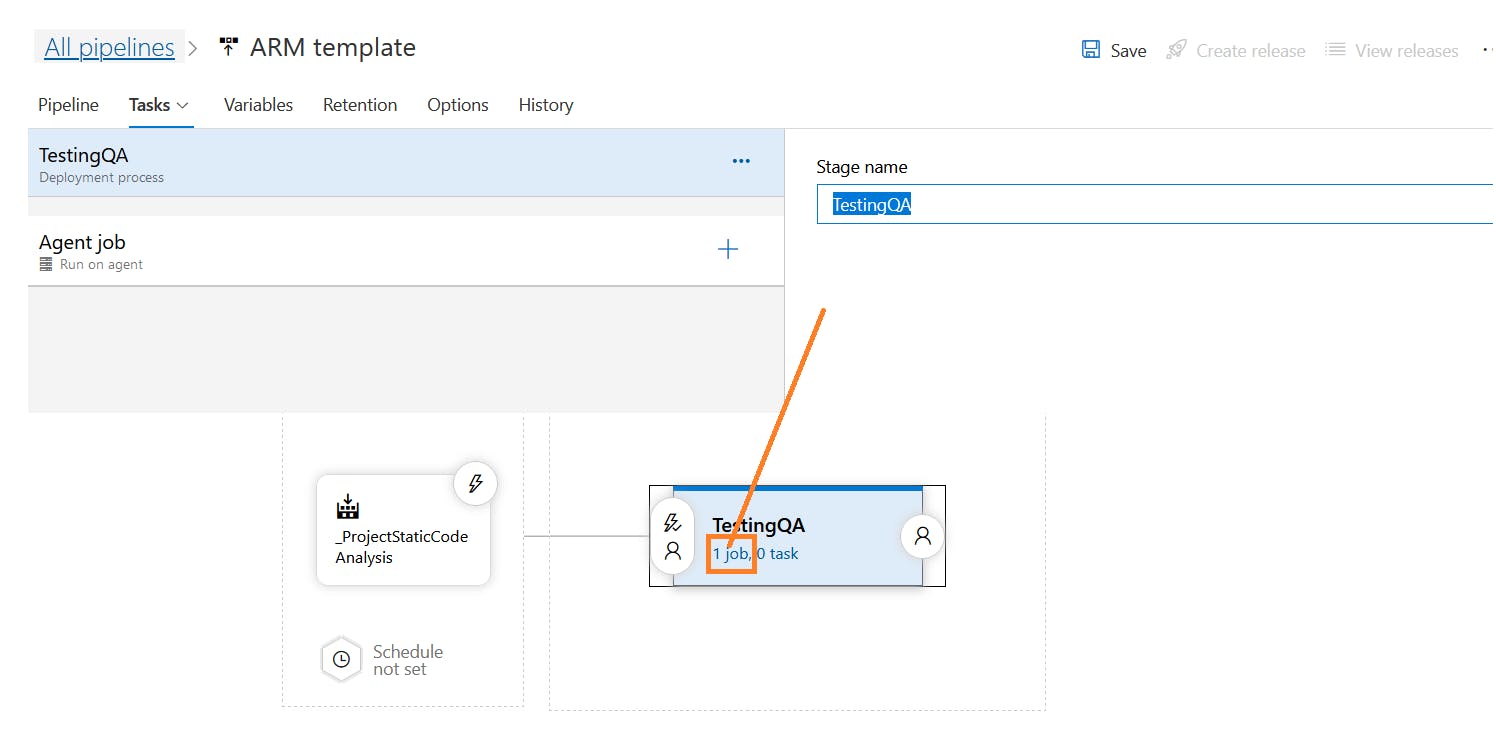
Click on stage and rename to TestingQA. Click on 1 job.
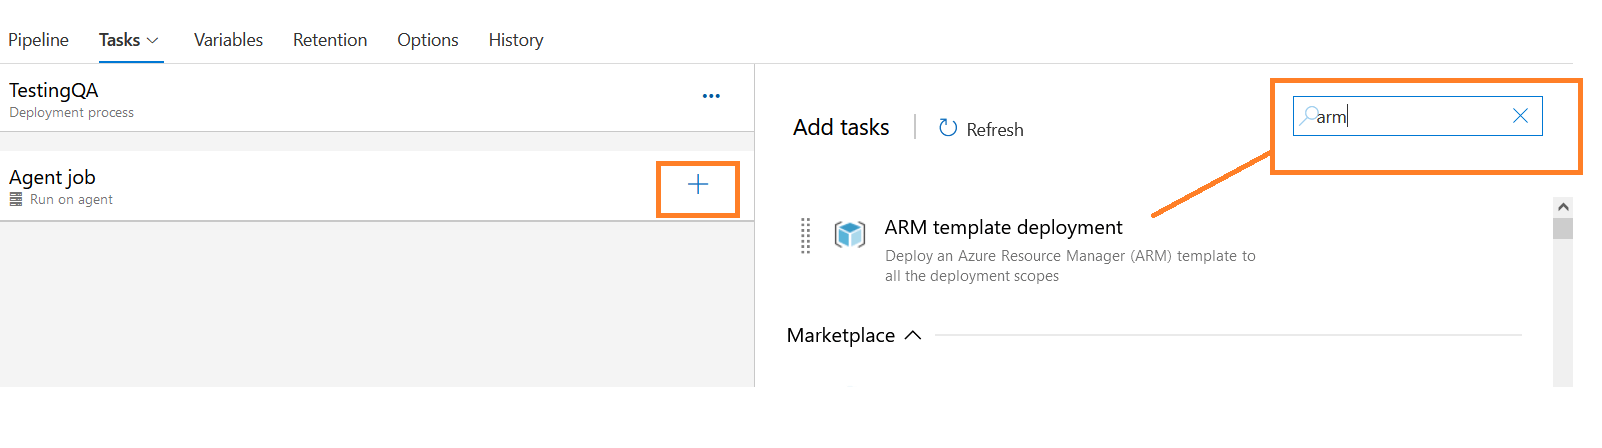
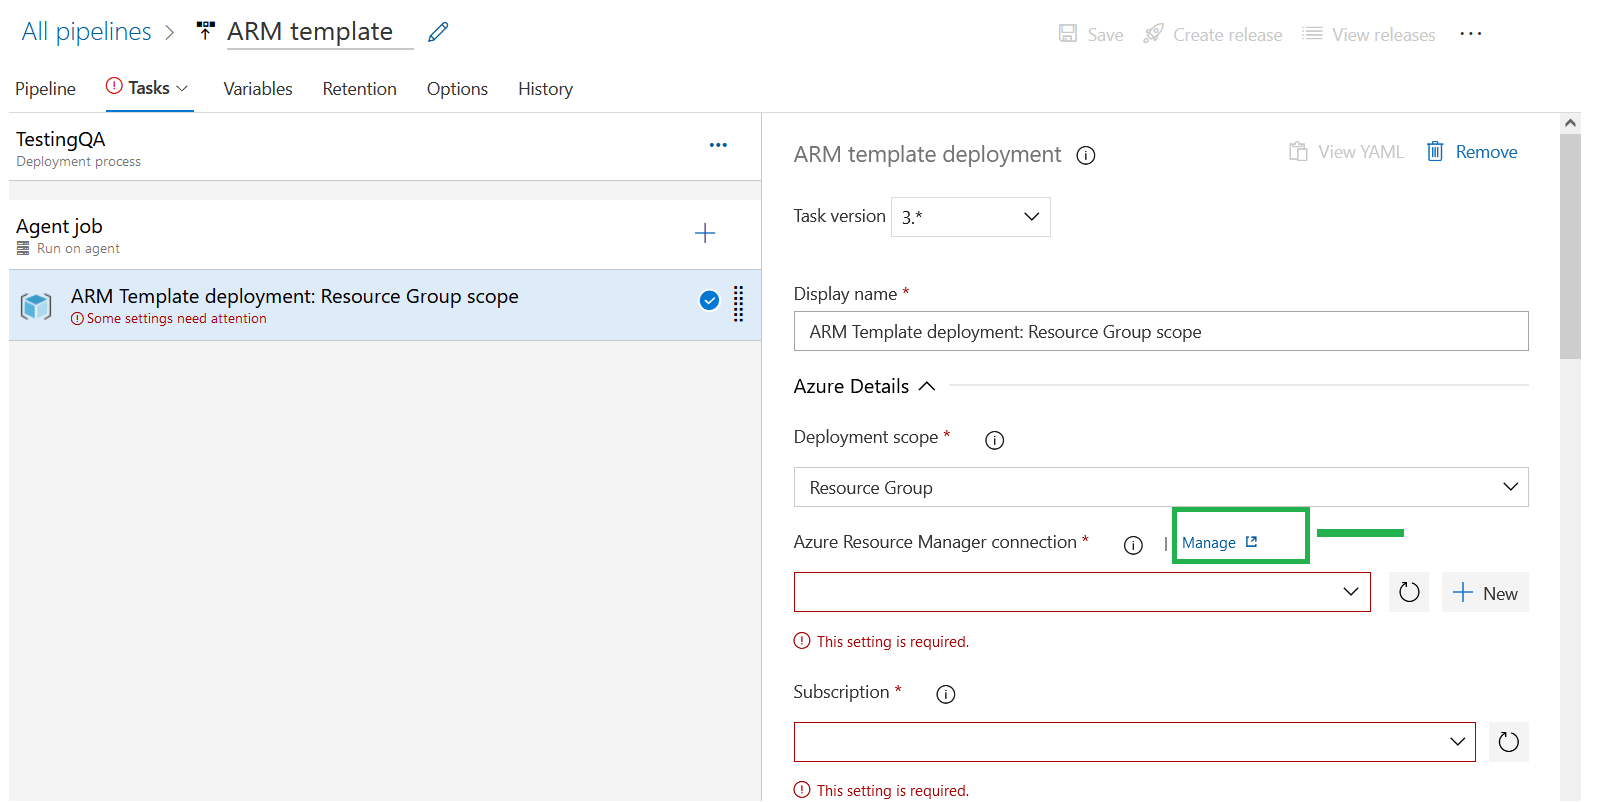
In the Agent Job, click on Add tasks, search and add ARM template deployment task.
In the ARM template deployment : resource group scope --> we need to setup connection to azure resource manager if not already setup. Click on manage.
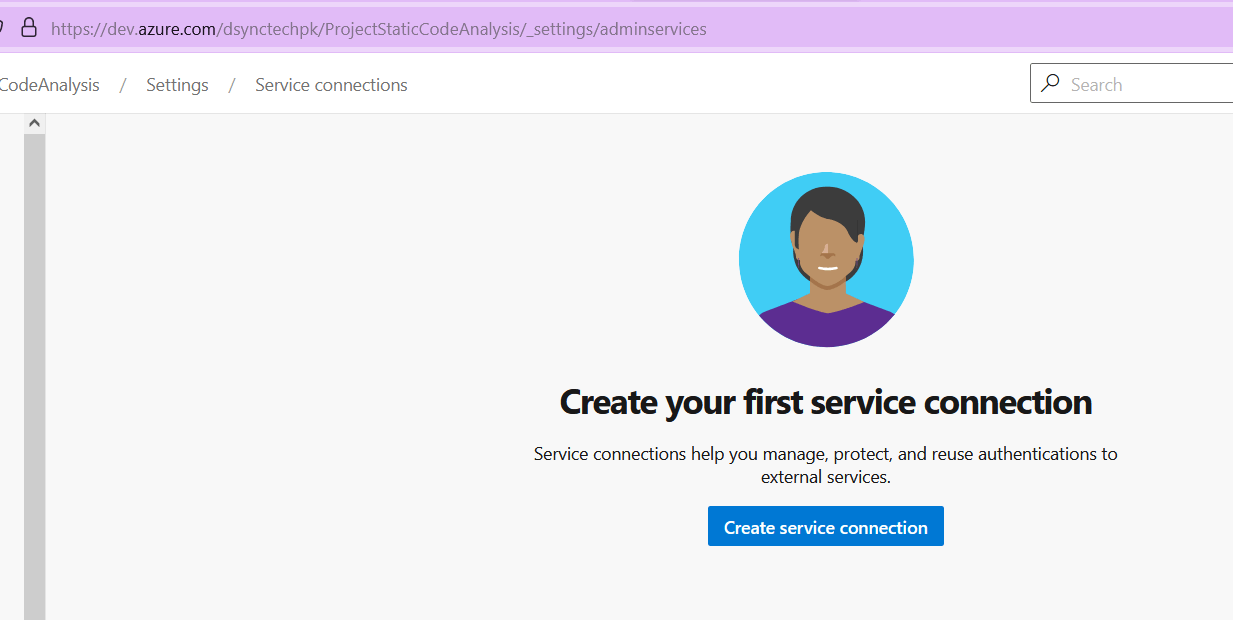
It will take us to Service connections page in the new tab, click on create service connection
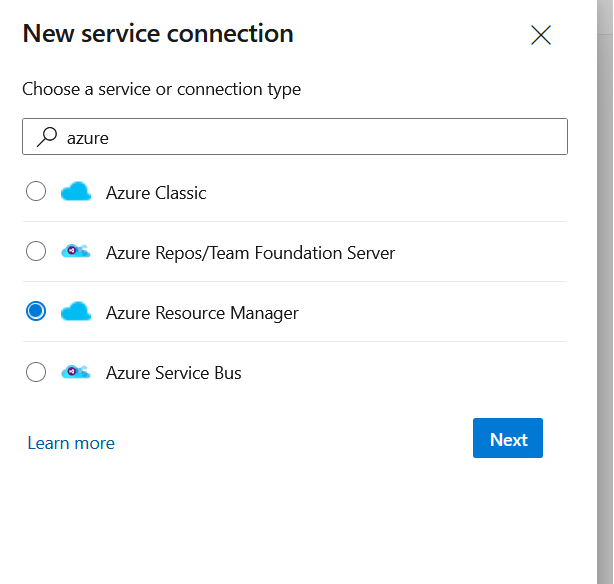
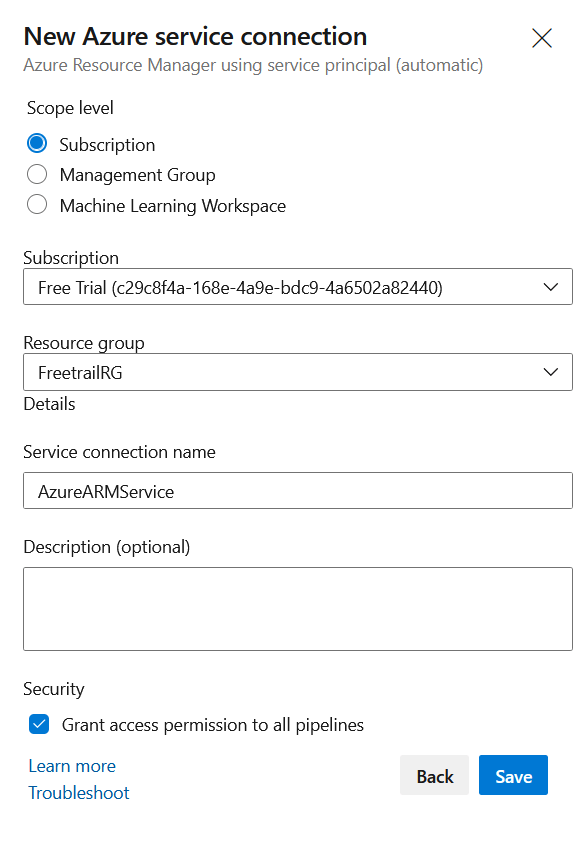
In the New service connection, choose on Azure Resource Manager as a service and click next
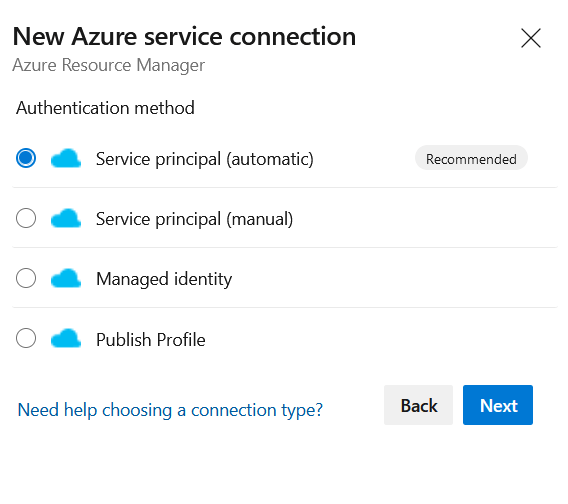
Choose Service principal (Automatic) as authentication method and click next,
Choose the Subscription as scope level and choose the resource group of azure and enter the connection name and click save.
Now the service connection is ready and we will use this in ARM template connection.

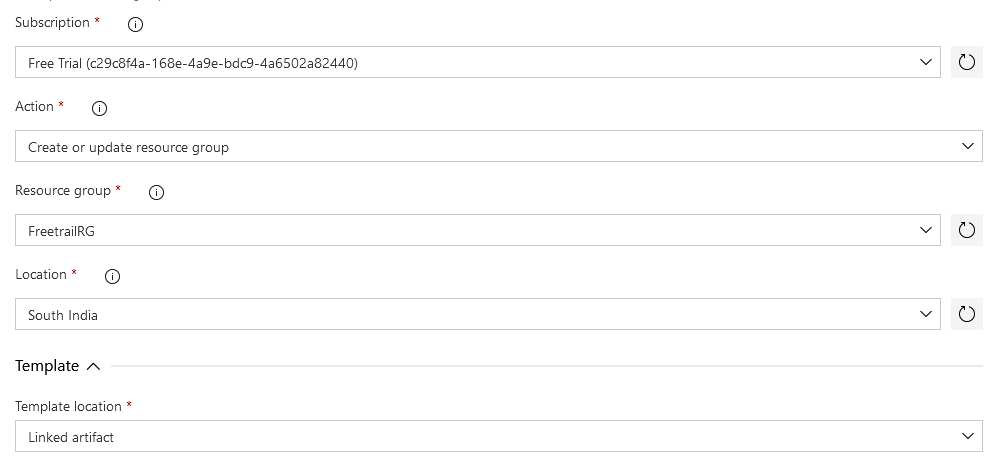
Go to the previous tab of ARM template deployment. And for the Azure Resource Manage connection --> choose the connect we setup just before. Choose the Action type as Create or update resource group.

Fill up the other details, like resource group name, location etc.,
For the template location: choose the URL of the file option. For the template Link section: copy paste the url we copied from the storage account container for the main template json file. (armwebapp.json) For the Template parameters section: copy paste the url we copied from the storage account container for the parameter json file. (armwebapp.parameters.json) Leave the other settings and click on save.
Click on add task to add azure app service deploy to release/deploy the code to azure app service.
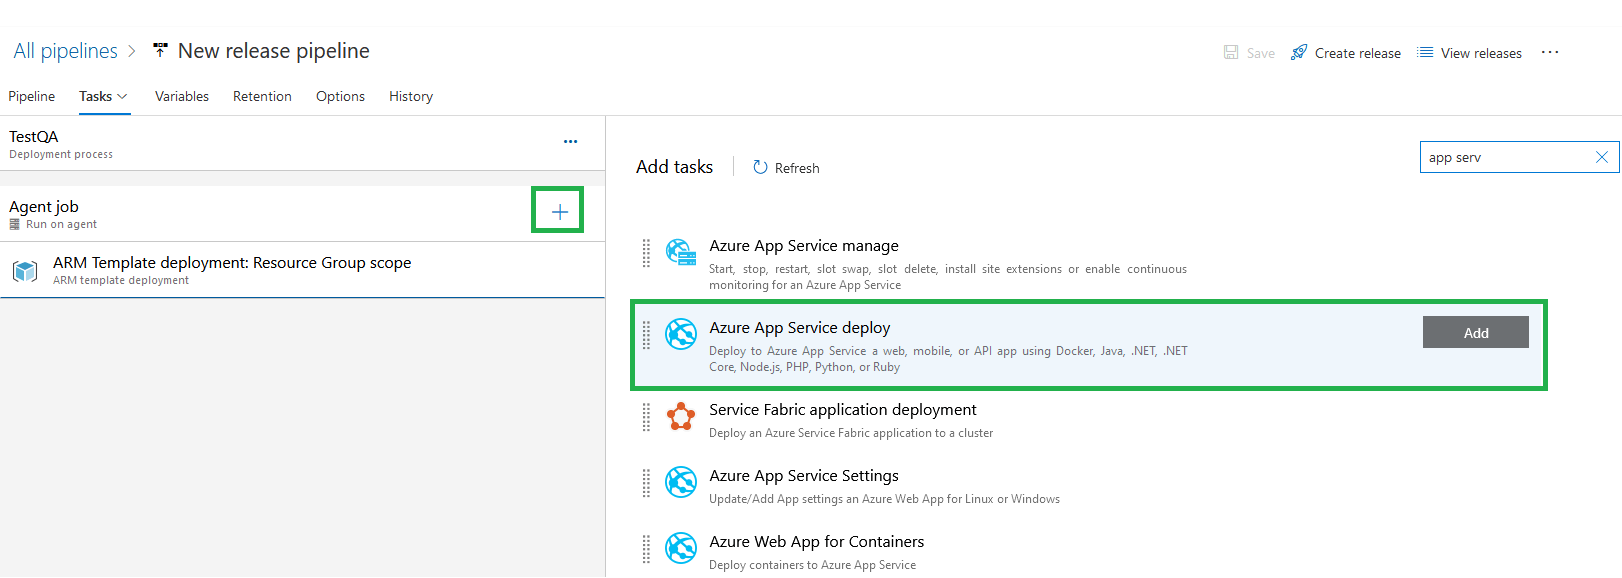
In the azure app service deploy, specify the connection type, azure subscription , app service type. We need to provide the app service name: refer the name of the app service from ARM template and update here.
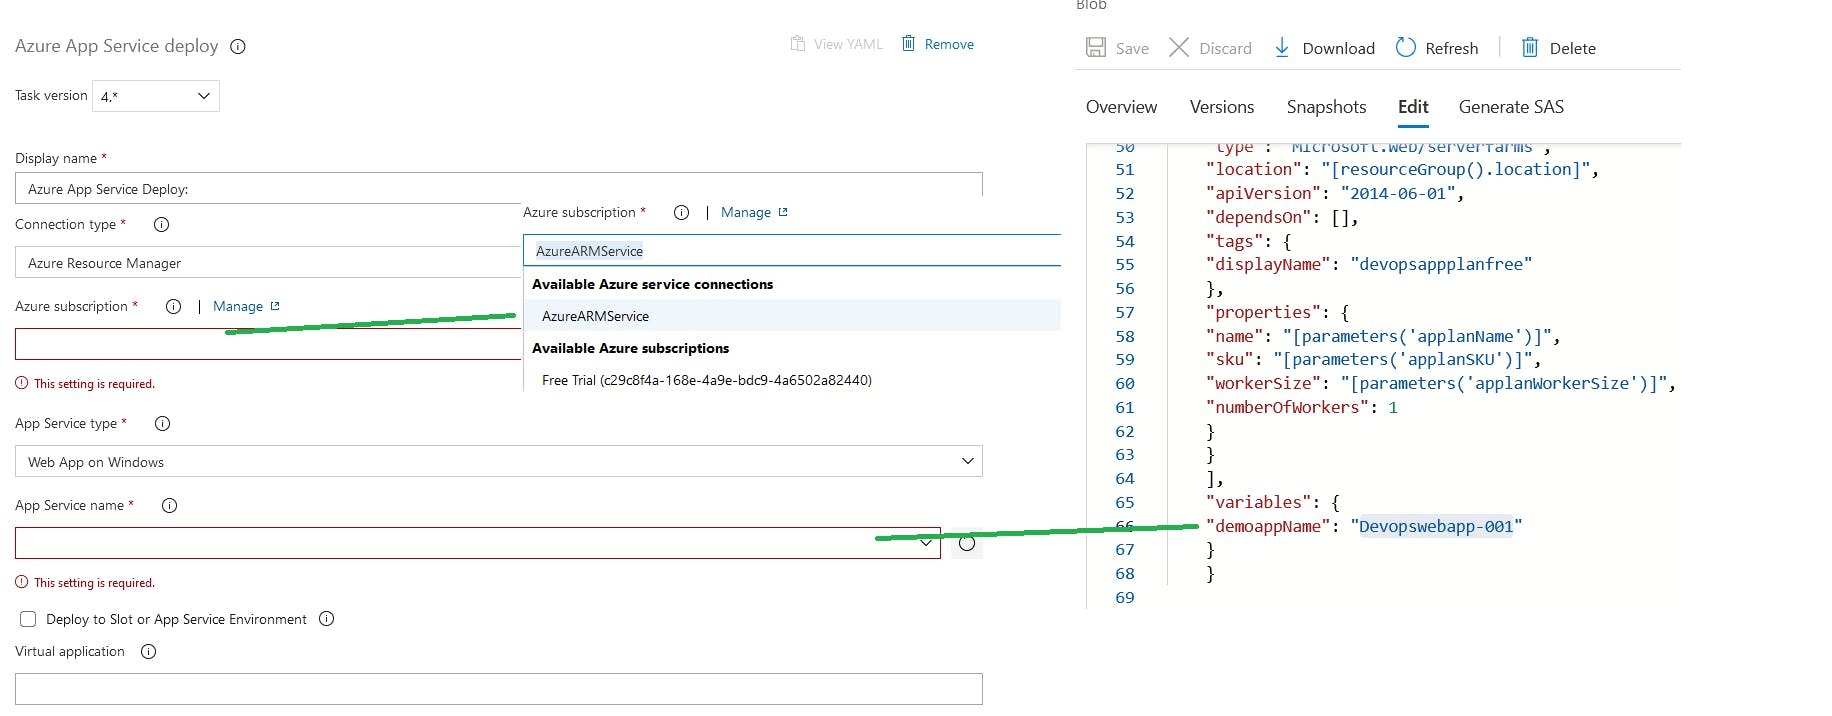
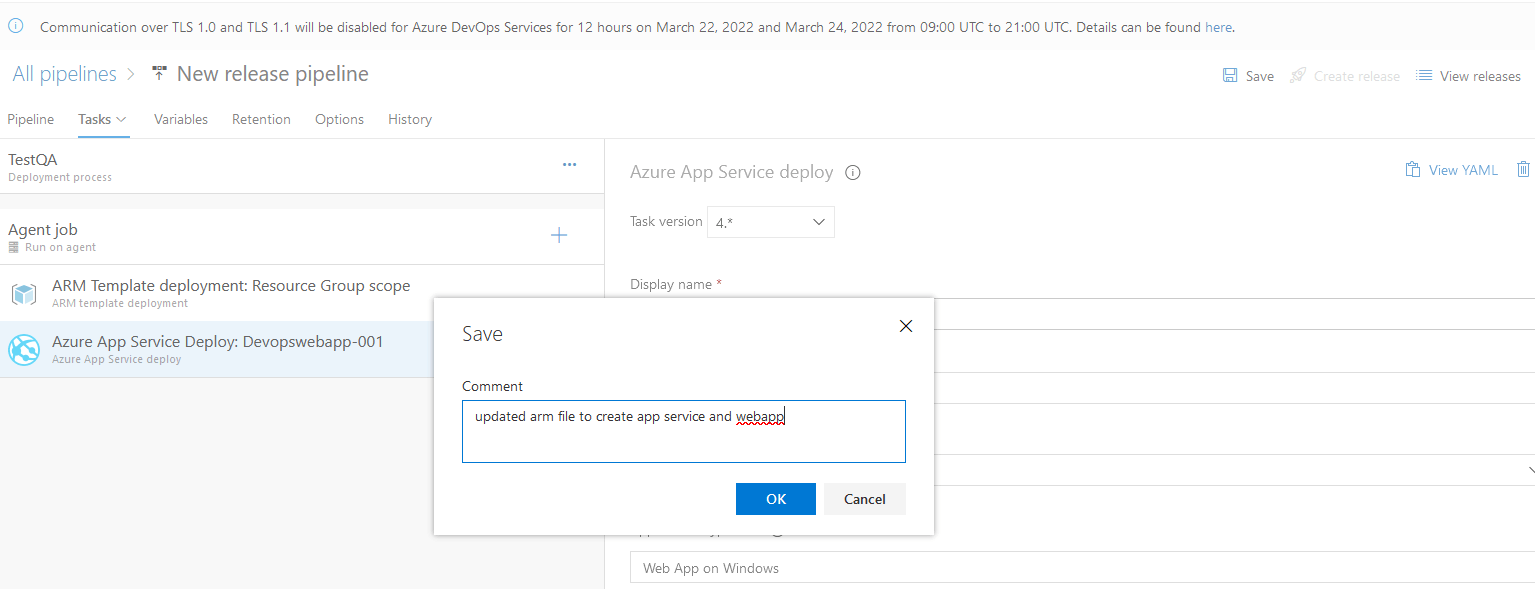
Click on save.
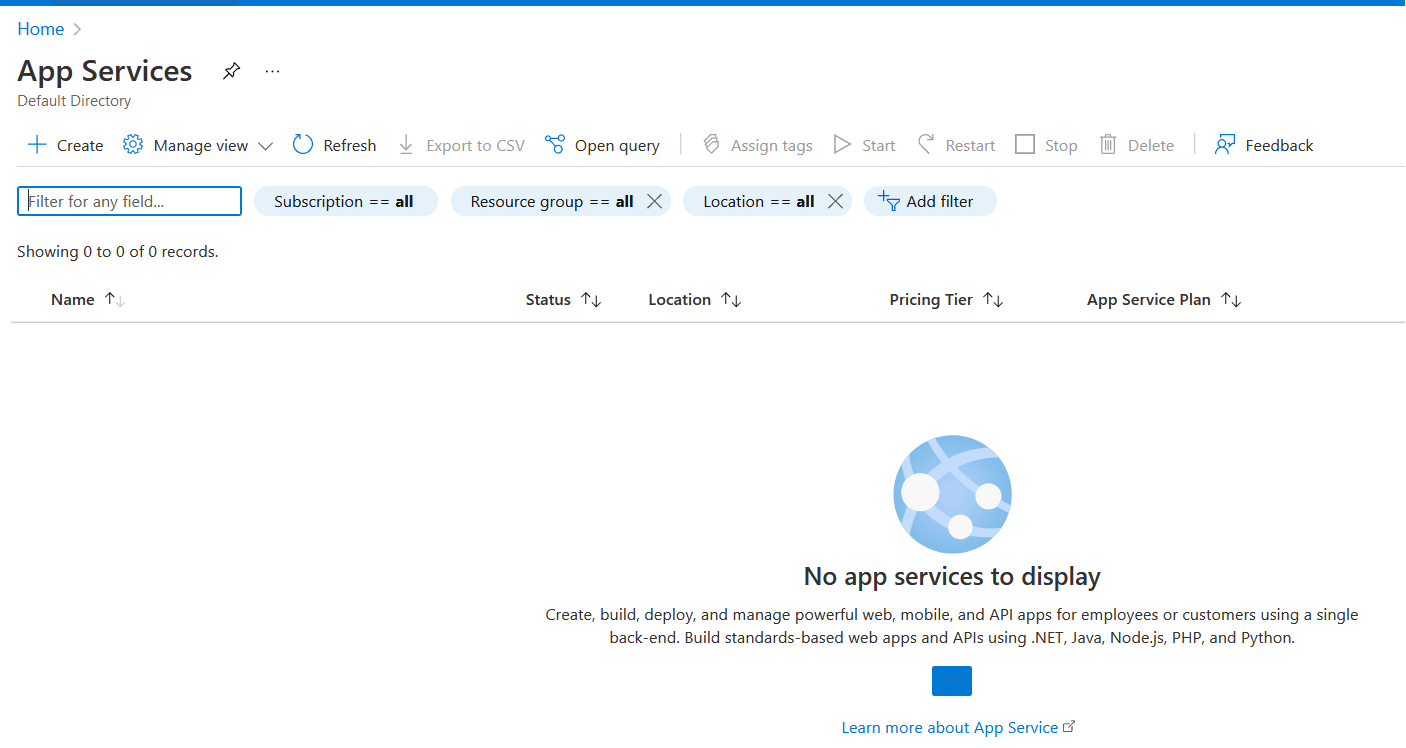
Before running the pipeline , just to ensure whether the ARM template deployment works, go to app services in azure and check whether any app service is already present with the specified name.
Go to azure Devops, click on repos --> modify any file and commit the changes. This will automatically trigger the build and release pipeline. Once the build is completed, the release pipeline will get triggered and provision the resources in azure and the deployment will happen on the provisioned resources.
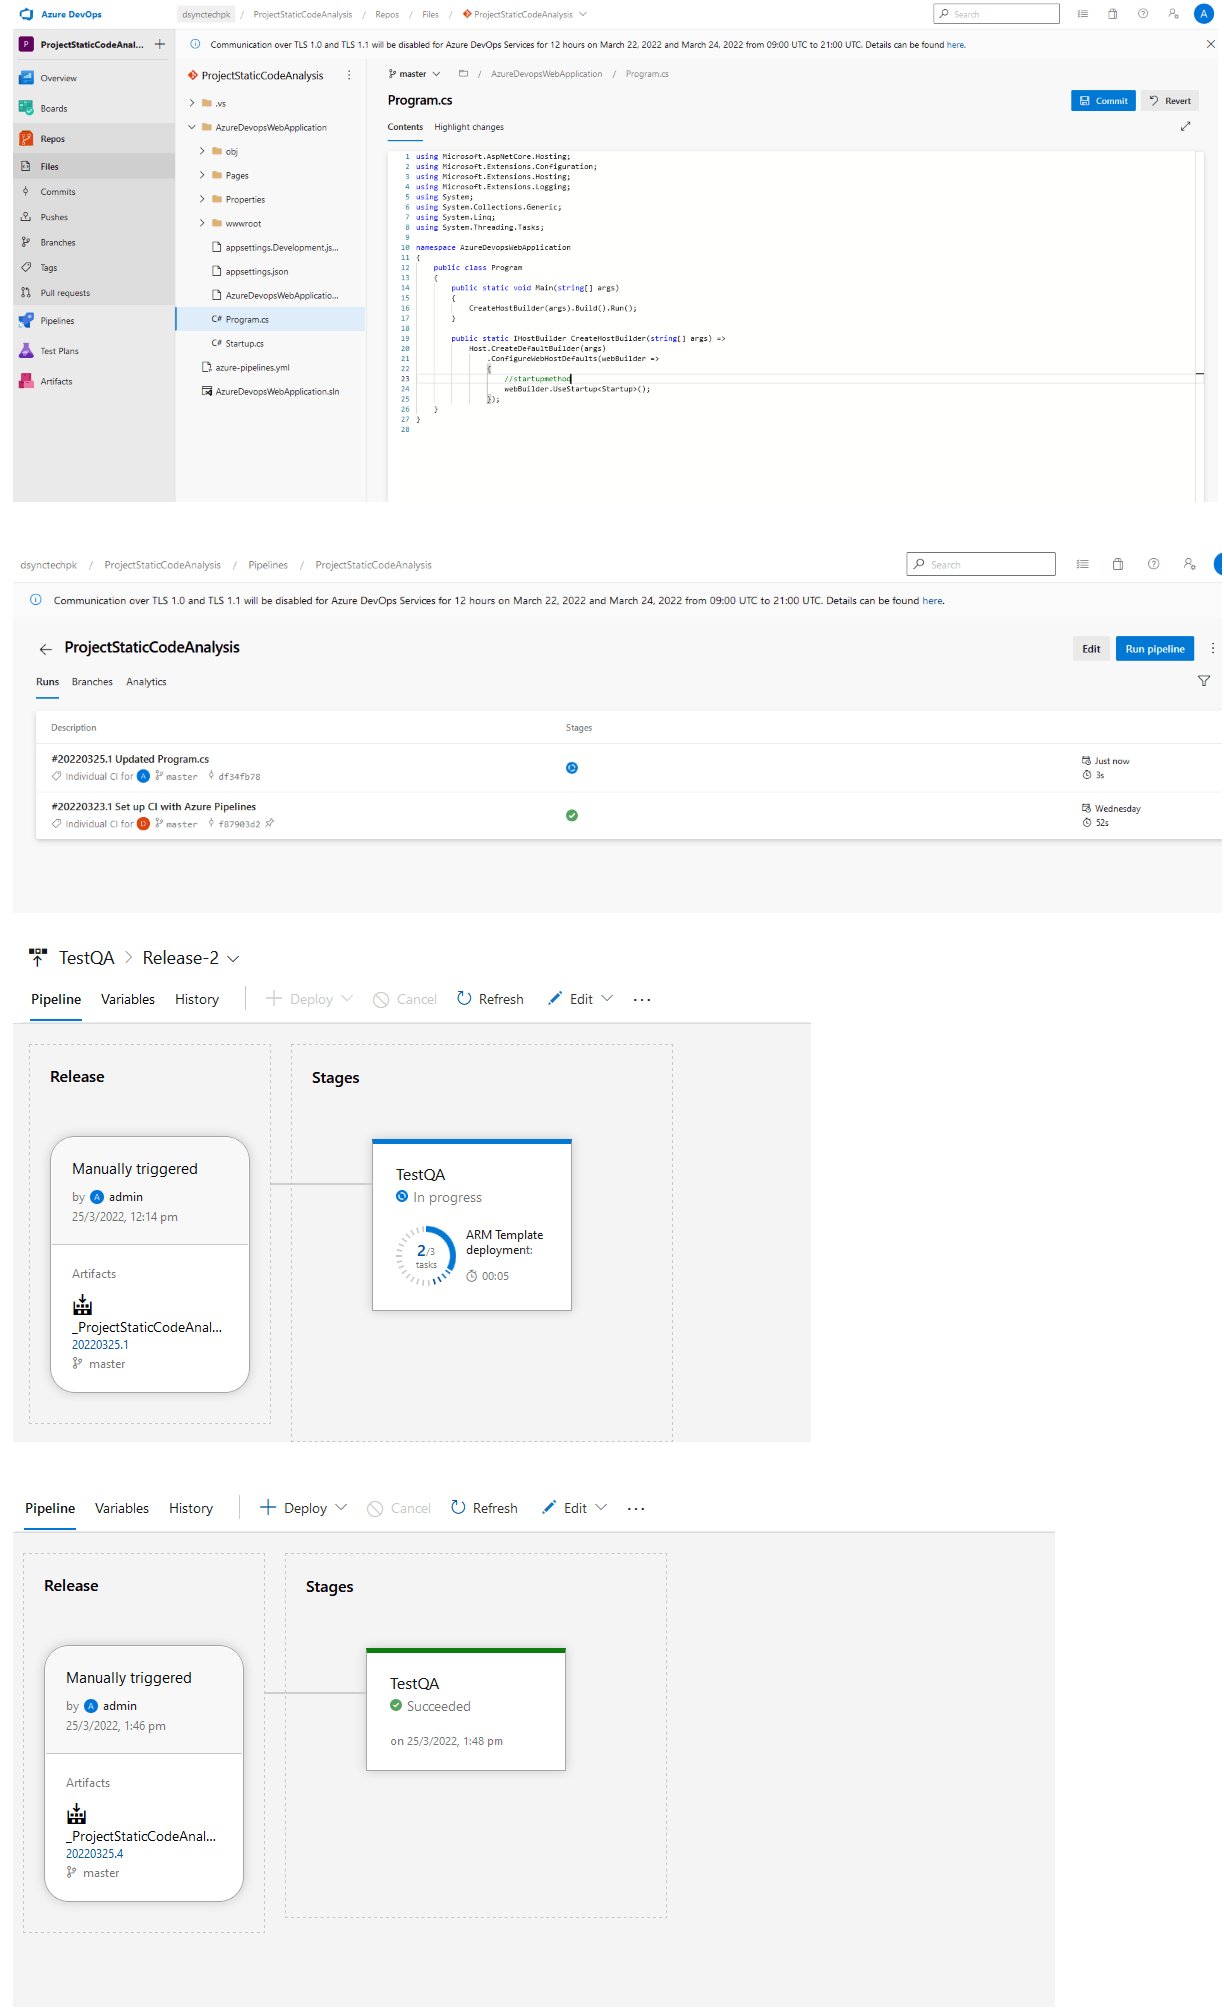
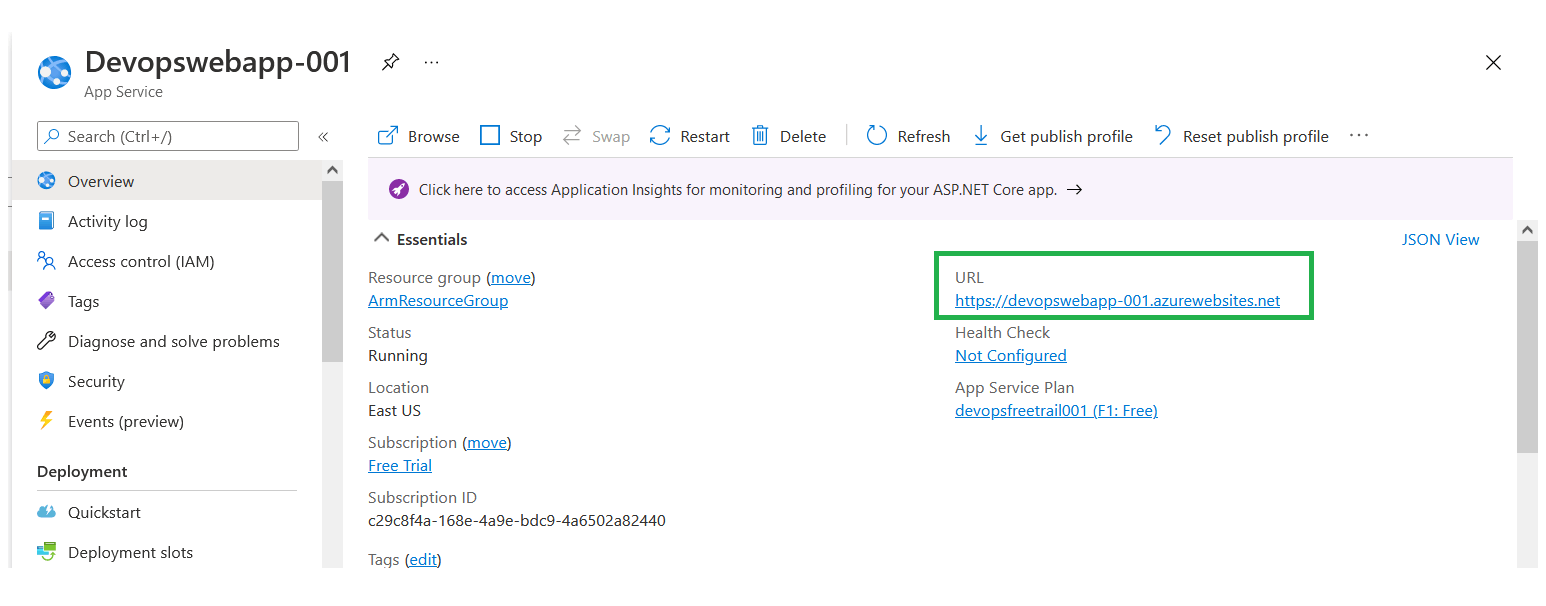
After the release got completed, go to azure portal and check for the new app service. The new app service will get created.

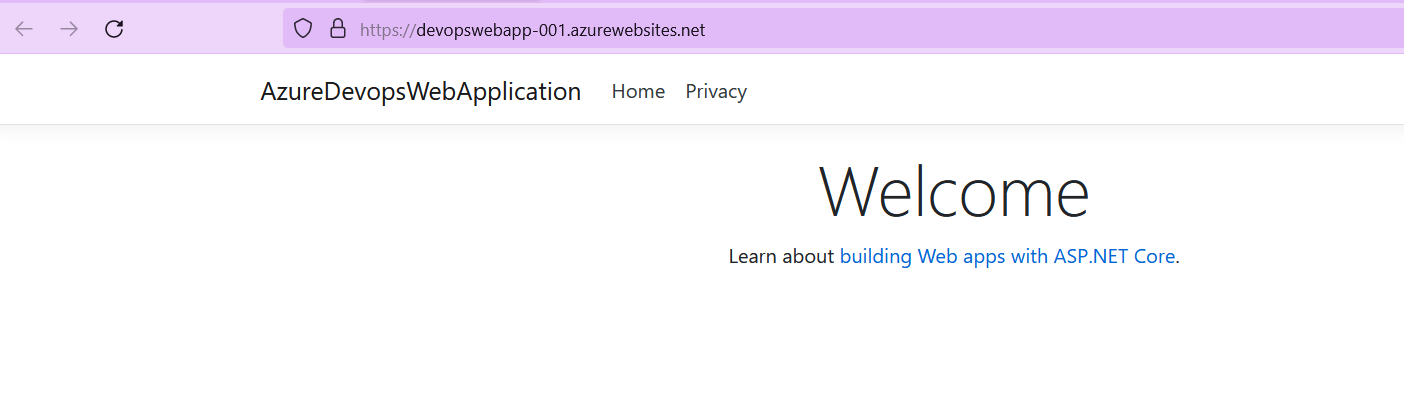
Click on the app service and copy its URL.
Paste the URL in the browser and we can see that our code has been deployed successfully to the azure app service from azure repos.
Below are Some of the issues you might encounter while setting this up, please find the screenshots and comments to resolve it:
- Issue: The subscription is not registered to use namespace 'microsoft.web'
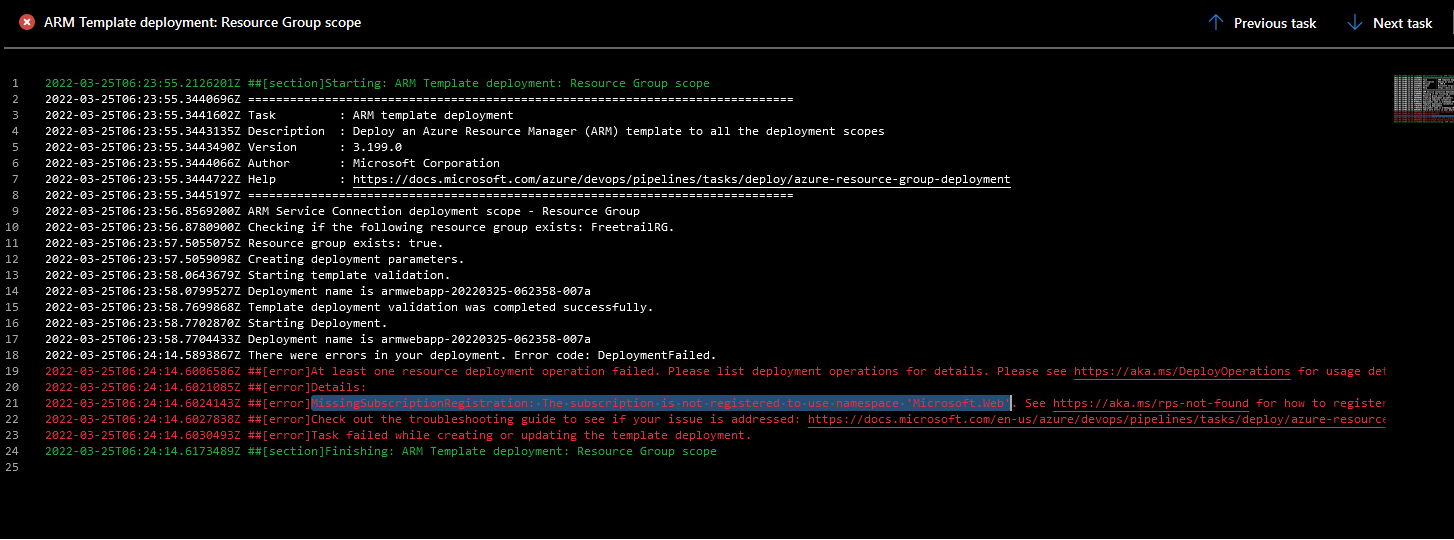 Comments:
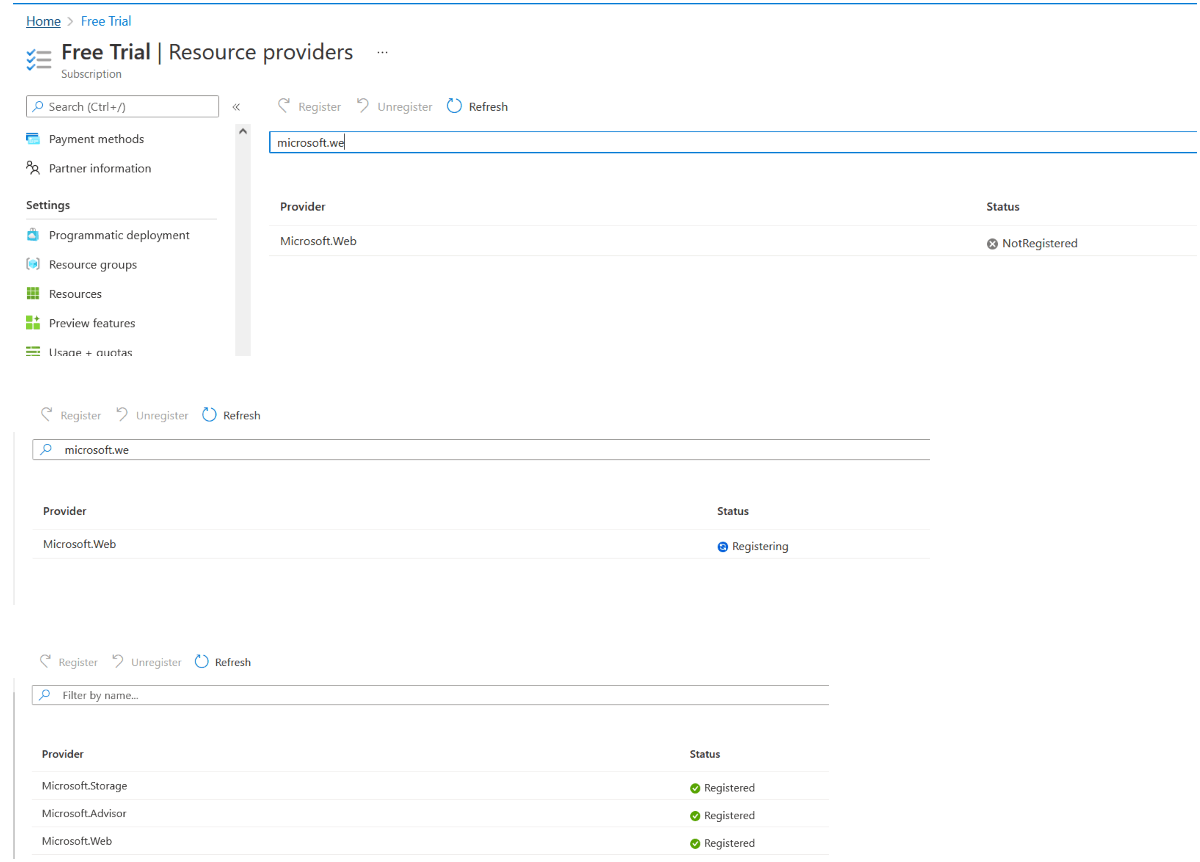
we need to register this resource provider for our subscription in azure.
Go to subscription in azure --> click on resource providers --> search and add the provider.
Comments:
we need to register this resource provider for our subscription in azure.
Go to subscription in azure --> click on resource providers --> search and add the provider.
- Issue : Undefined: The scale operation is not allowed for this subscription in this region :
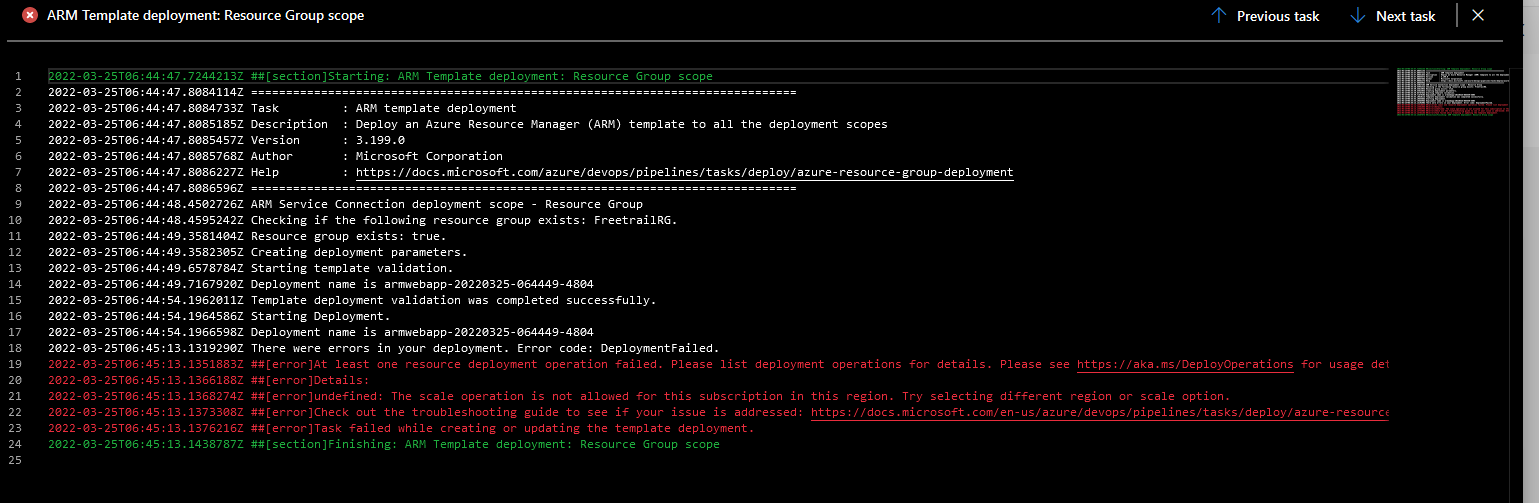 Comments:
we need to first setup the subscription and its resource group in the region with has the scaling operation. (for eg., for free trail, india region doesn’t have scale option, so we need to use east us or other region with has this option)
Comments:
we need to first setup the subscription and its resource group in the region with has the scaling operation. (for eg., for free trail, india region doesn’t have scale option, so we need to use east us or other region with has this option)
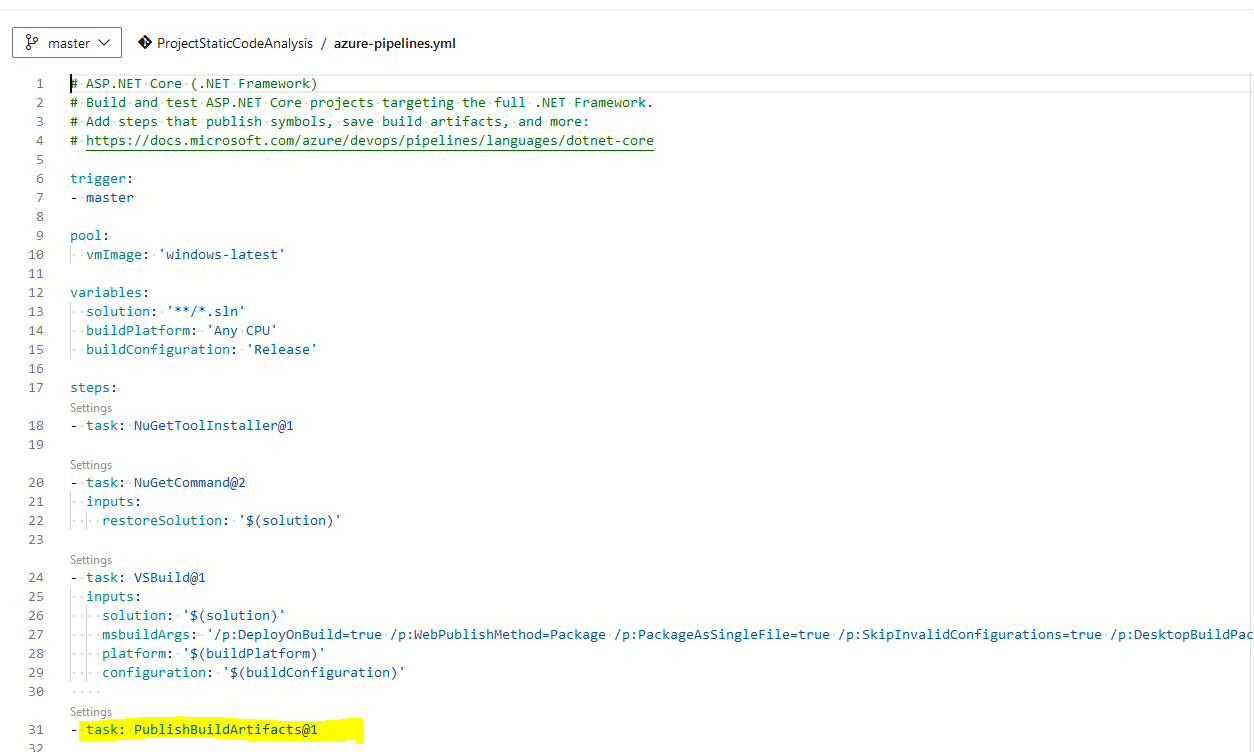
- Issue: Error: No package found with the specified pattern

Comments:
Go to the build pipeline and in the YAML file add the below highlighted line at the bottom.
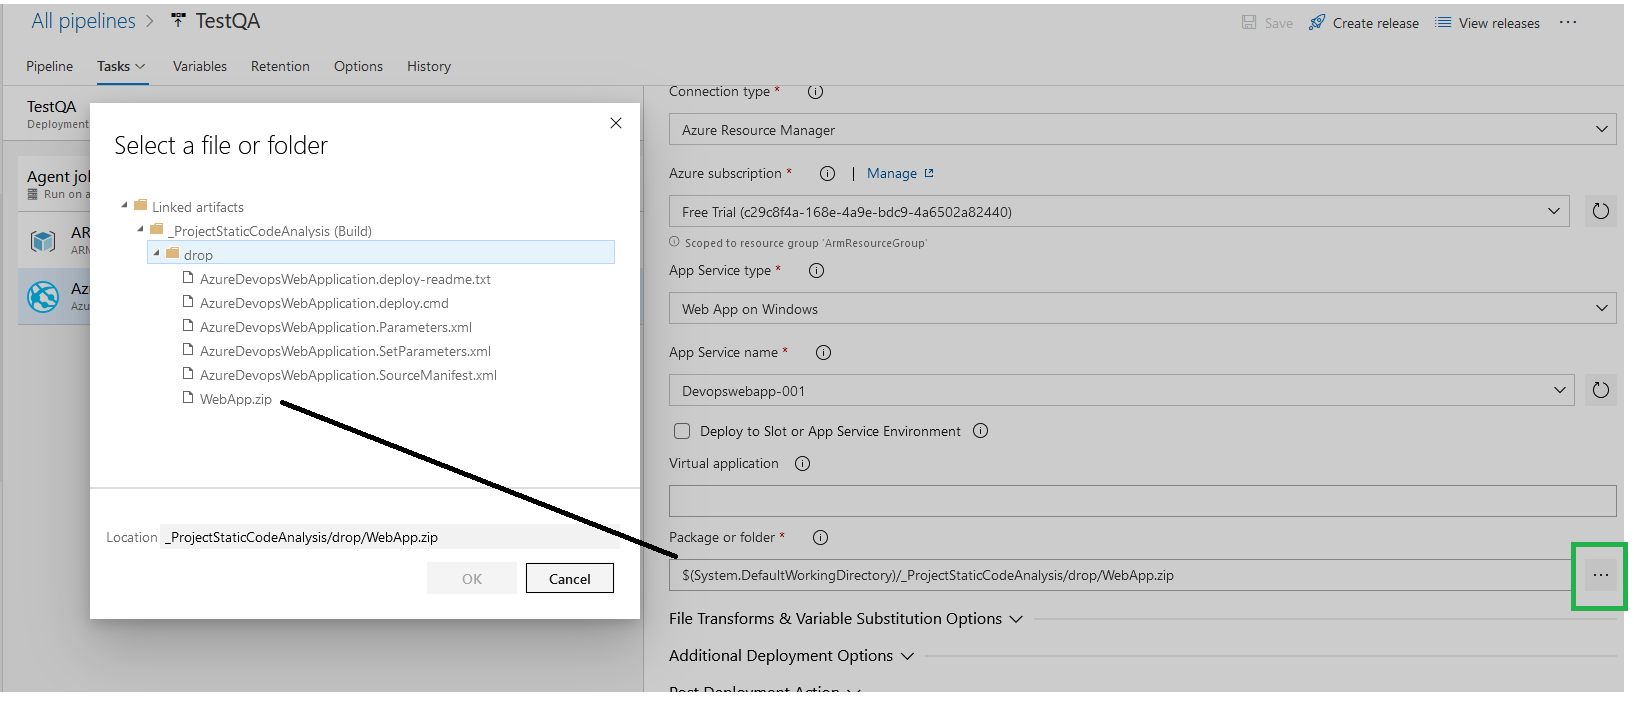
 Now go to azure release pipeline, in the azure app deploy task, click the package or folder and choose the drop folder and the zip file.
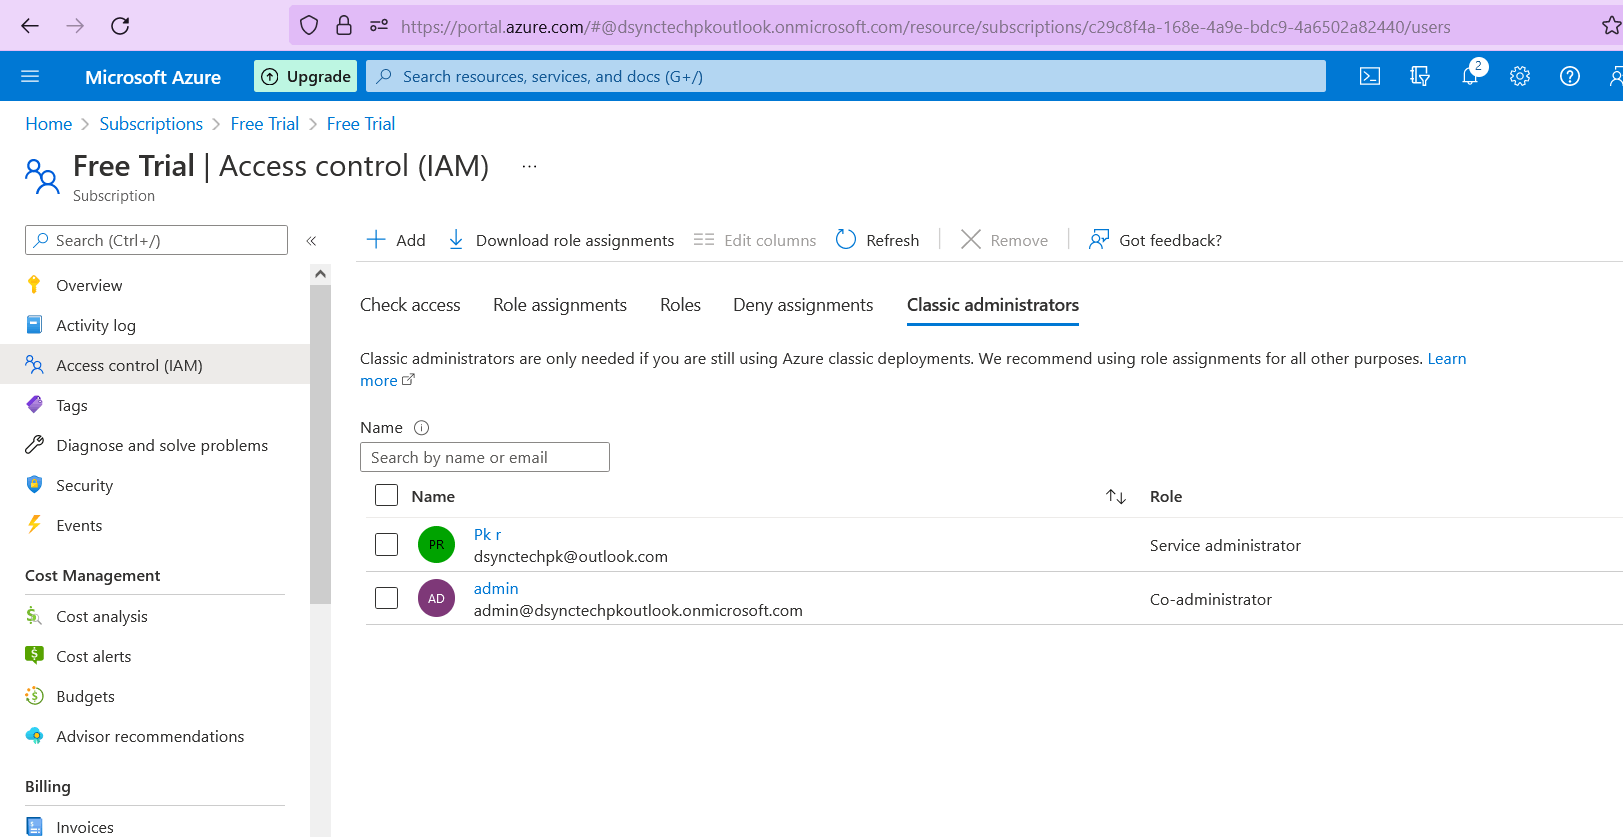
- Issue while setting up Azure service connection If you face any issue in setting up the Azure service connection: check the account and provide the correct access to the azure subscription. If you face any guest user access related issue, try to create or use admin account from azure and give the permission to subscription & setup the Azure service connection
Note: Azure recently introduced a new language called Bicep to reduce the complexity of ARM template. We will see the demo of how to use Bicep in the upcoming articles. Reference : docs.microsoft.com/en-us/azure/azure-resour..